Video Studio — a CapCut-style timeline with film LUTs on top
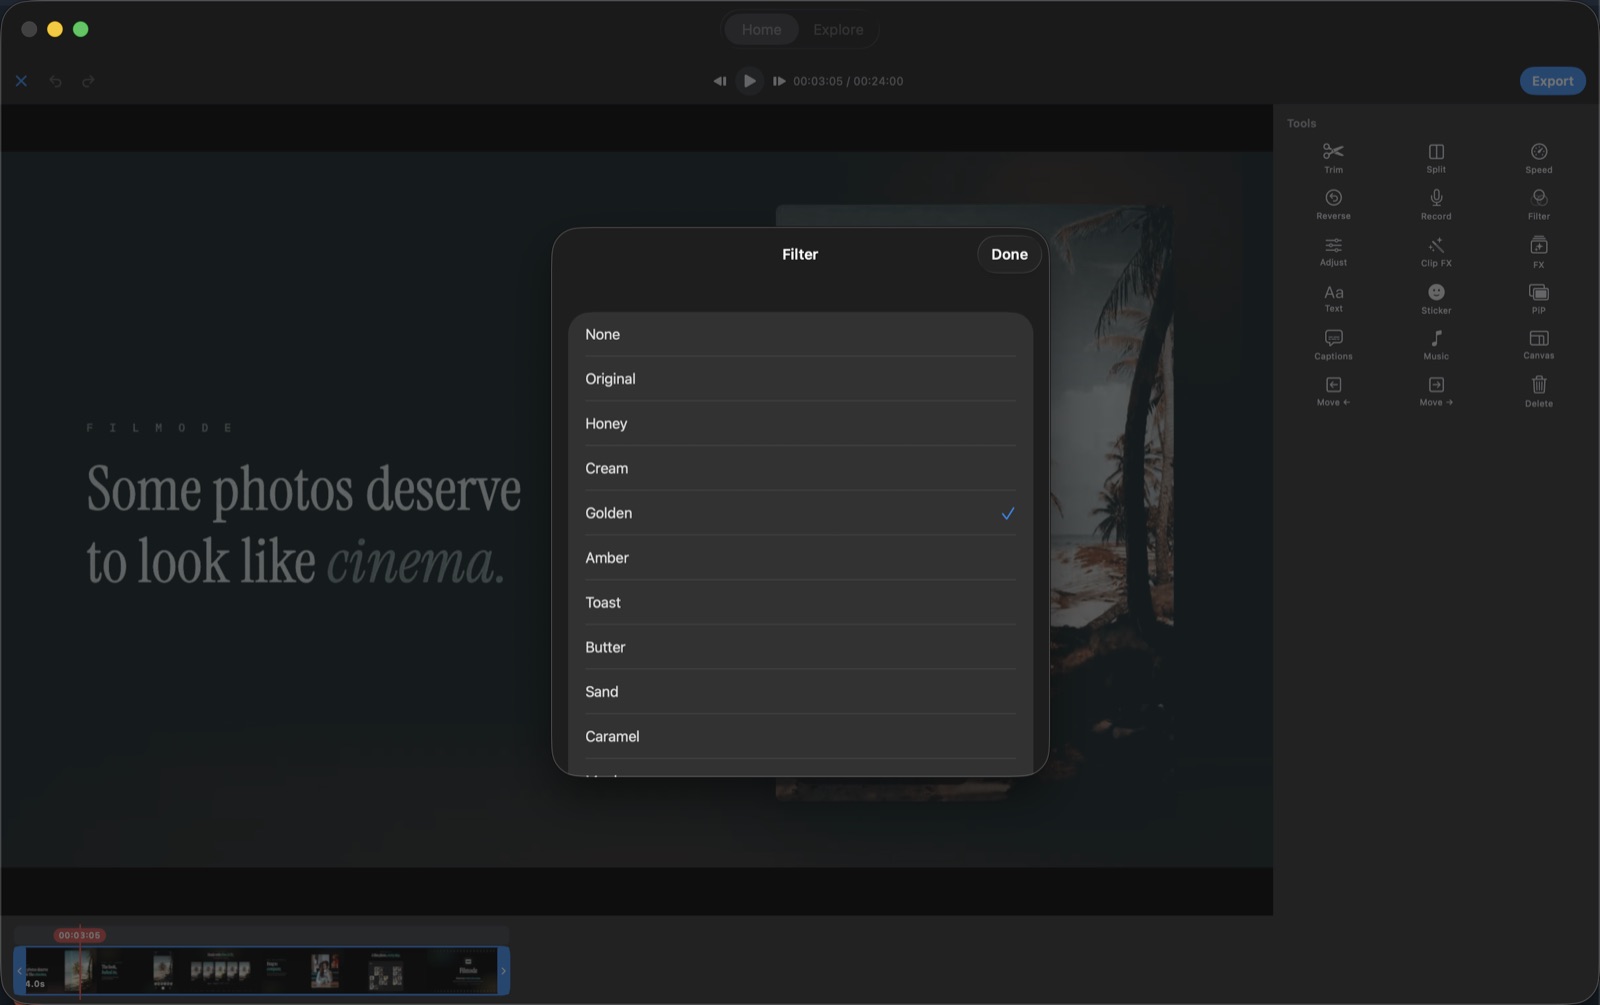
Zoomable timeline with waveforms, frame-accurate scrubbing, trim/split/speed/reverse, text, stickers, PiP, auto captions, music and voice-over — graded with the same LUTs as your photos.
Filmode is a photo editor that also cuts video. Video Studio is a full multi-clip timeline editor, and its most useful trick is that it grades with the same LUT library you use on stills — so a clip and a photo from the same afternoon can actually match.
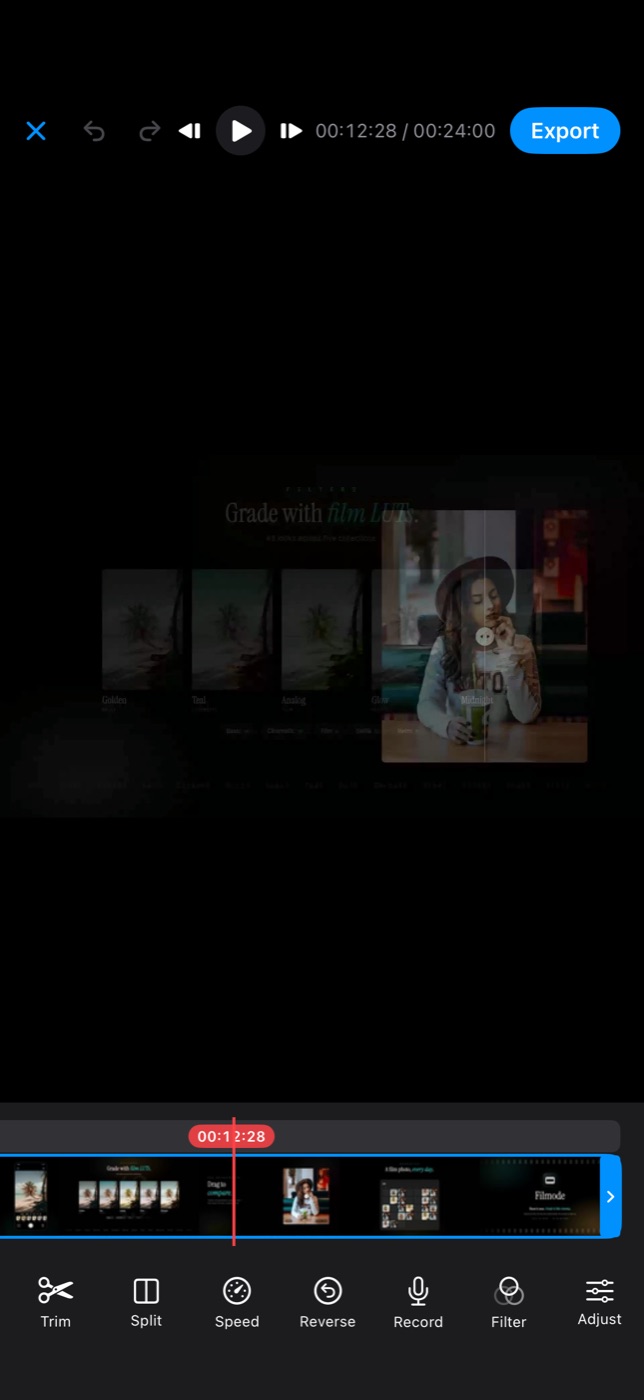
The timeline
The layout is what you would expect from a modern mobile editor, done properly:
- Zoomable timeline with audio waveforms drawn under the clips
- Cut-snapping scrub — the playhead catches on edit points instead of sliding past them
mm:ss:fftimecode, so you know where you are to the frame- Frame stepping and cut-to-cut jumping
- Undo / redo for everything
Frame-accurate is not a luxury here. Trimming to the frame is the difference between a cut that lands on the beat and one that almost does.
Editing the clips
| Operation | What it does |
|---|---|
| Trim | Drag the handles; the waveform shows you where the audio starts |
| Split | Cut at the playhead |
| Reorder | Move clips around the timeline |
| Speed | Slow down or speed up a clip |
| Reverse | Play a clip backwards |
| Transitions | Between clips, on the cut |
| Canvas ratio | Set the output shape — vertical, square, wide |
Grading, with the same LUTs
This is the part that makes Video Studio a Filmode feature rather than a generic timeline. The LUT collections and the manual adjustments from the photo editor both apply to video:
- Clip FX — applied to one clip
- Global FX — applied across the whole project
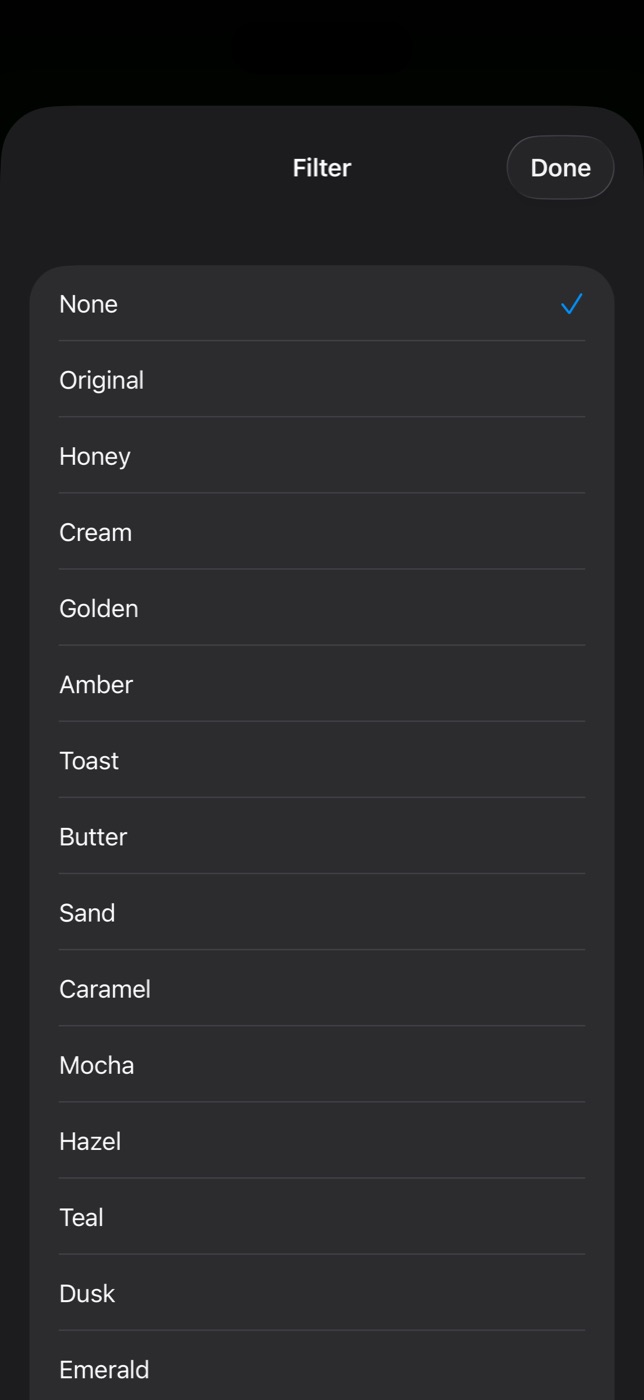
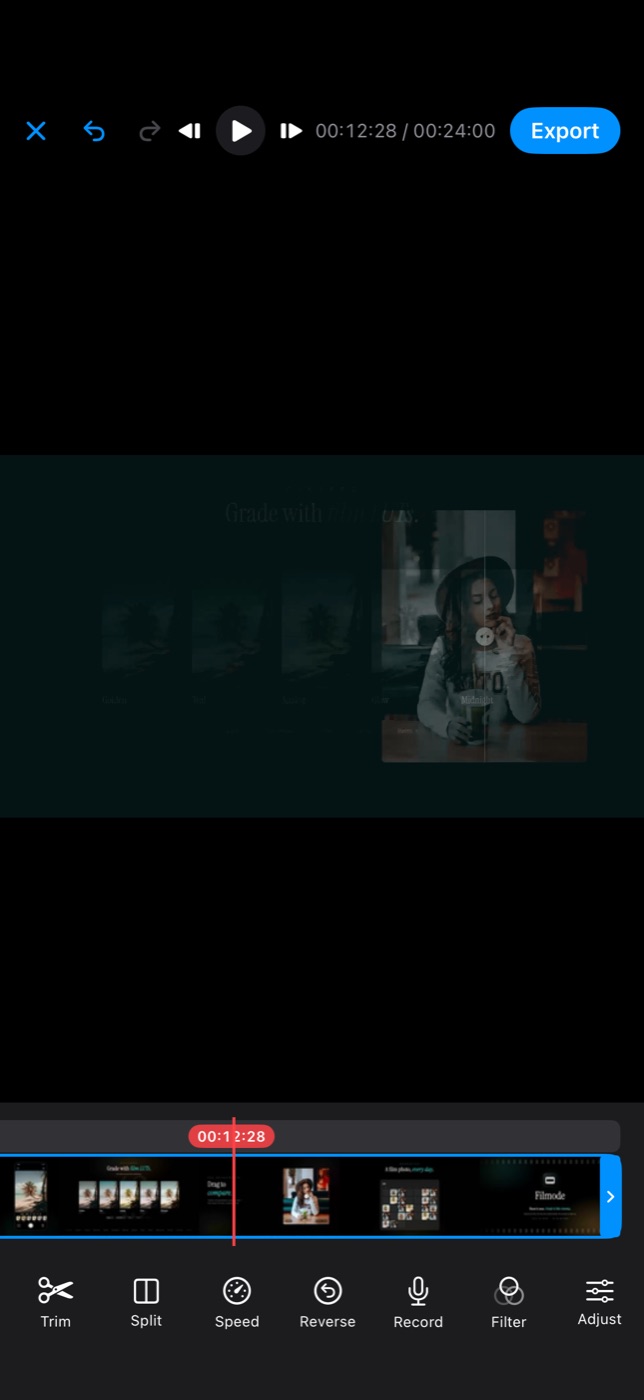
Because it is the same LUT library, the workflow that keeps a feed consistent is obvious: grade your stills with a recipe, and apply the matching LUT globally to the clip. Same colour, same mood, one look across a post.
Everything on top of the picture
Video Studio is not just cuts and colour:
- Text and stickers
- PiP — a second video layered over the first
- Auto captions — spoken words transcribed onto the timeline
- Music — a track under the whole edit
- Voice-over recording — record narration against the playing timeline
Drafts do not evaporate
A video project is saved as a draft, and every file it references — clips, music, voice-overs, image overlays — is copied into the draft's own folder. This matters more than it sounds: a video project that only stores paths breaks the moment the system clears a temp directory or the app container moves. Filmode's drafts keep their own copies and repair their own links, so a project you come back to next month still opens.
On the Mac, with a keyboard
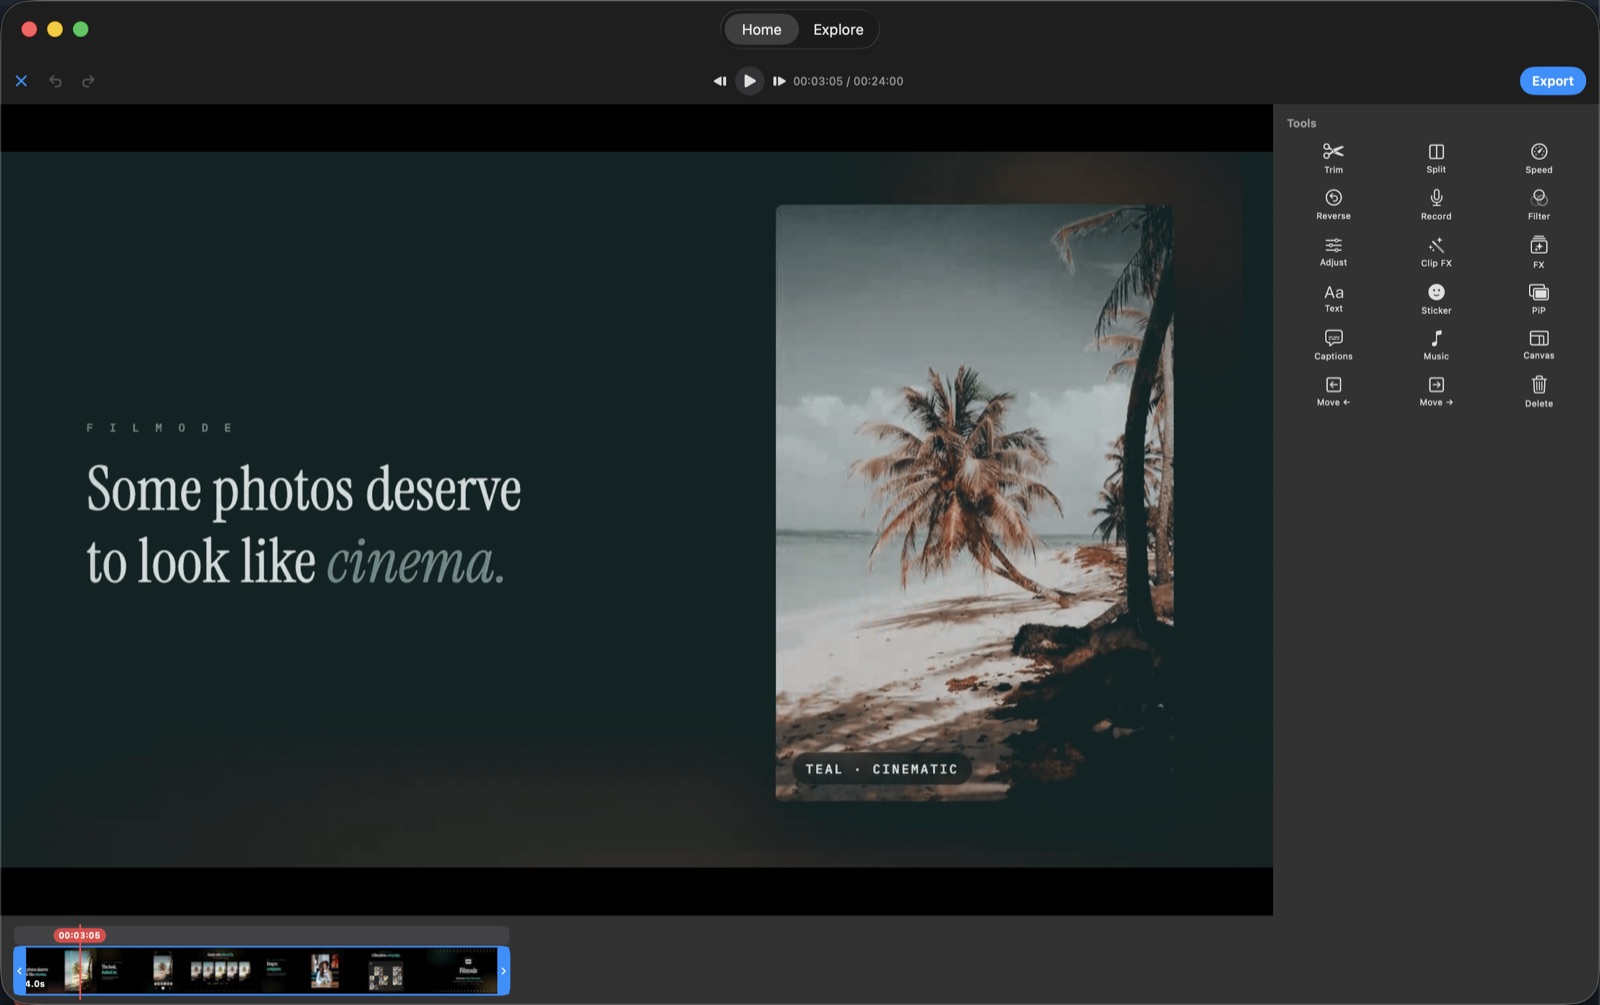
The desktop build gives the timeline the full window width under the player, and the keyboard shortcuts you would want:
| Key | Action |
|---|---|
| Space | Play / pause |
| ← / → | Step one frame |
| ⌥← / ⌥→ | Jump to previous / next cut |
| ⌘B | Split at the playhead |
| ⌘E | Export |
| ⌘Z / ⇧⌘Z | Undo / redo |
You can also drag movie files from Finder straight onto Video Studio to start a project.
A short workflow that works
- Drop your clips in and set the canvas ratio first.
- Rough-cut with split and trim — get the length right before anything else.
- Add music, then re-trim the cuts to the beat using frame stepping.
- Apply a global LUT so the whole piece shares one colour.
- Fix any clip that fights the grade with clip FX.
- Text, captions and stickers last — they are the layer you will change the most.
- Export.