Getting started with Filmode — from first launch to first export
The five onboarding pages, the Home hub, and the auto-saved projects grid. Everything you need to grade your first photo in under a minute.
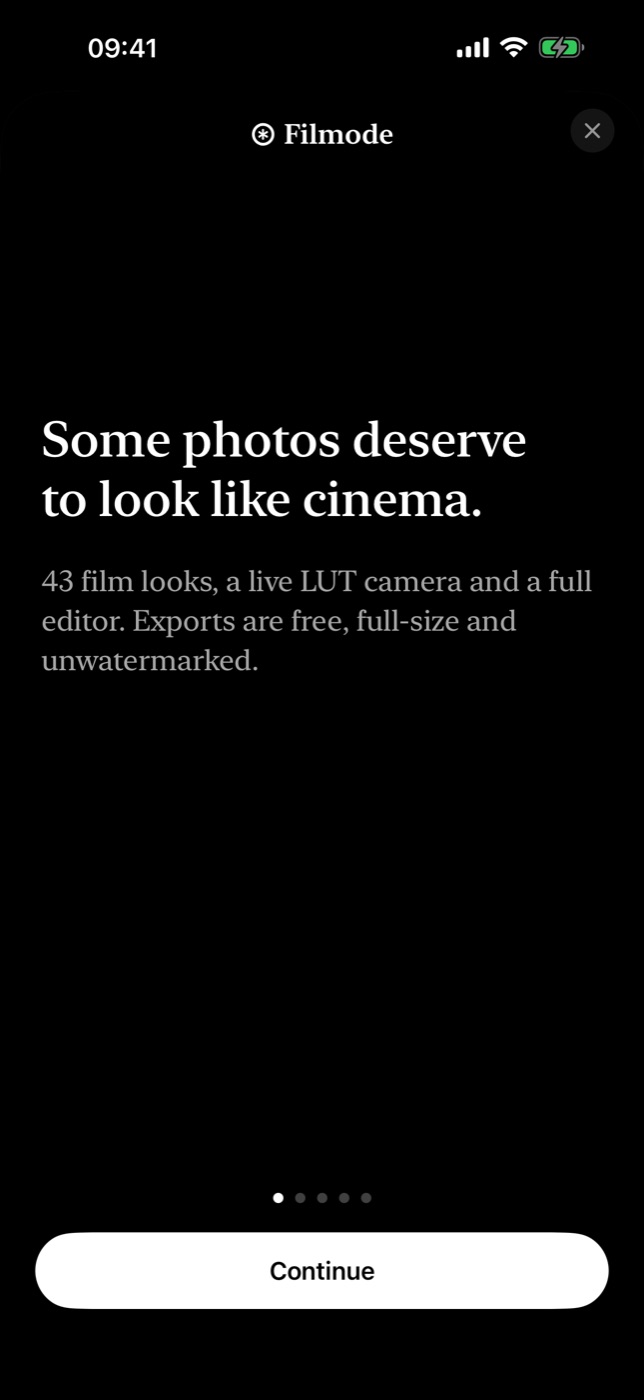
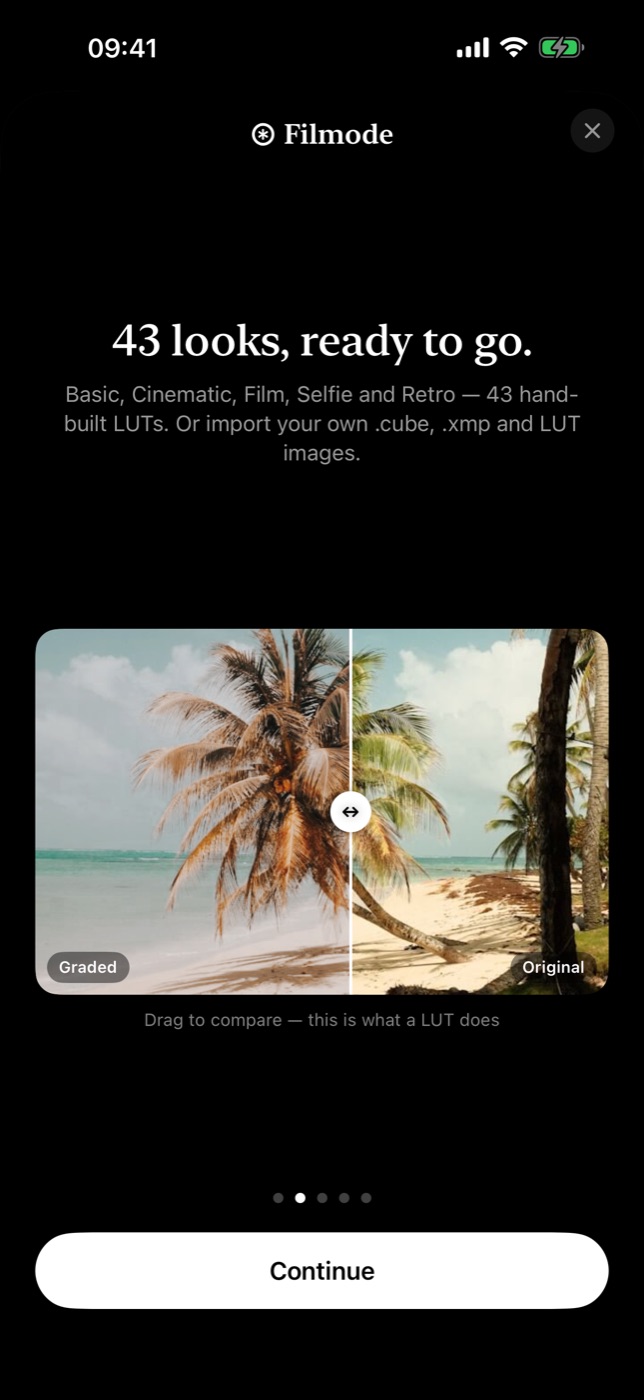
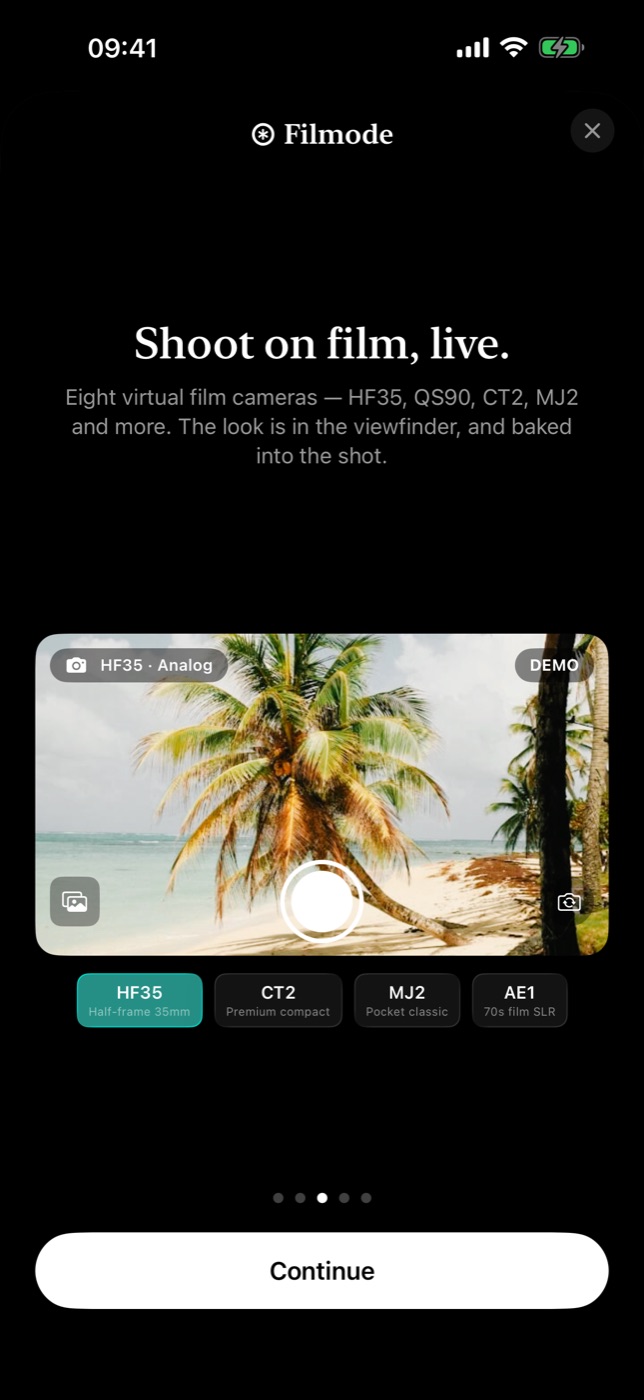
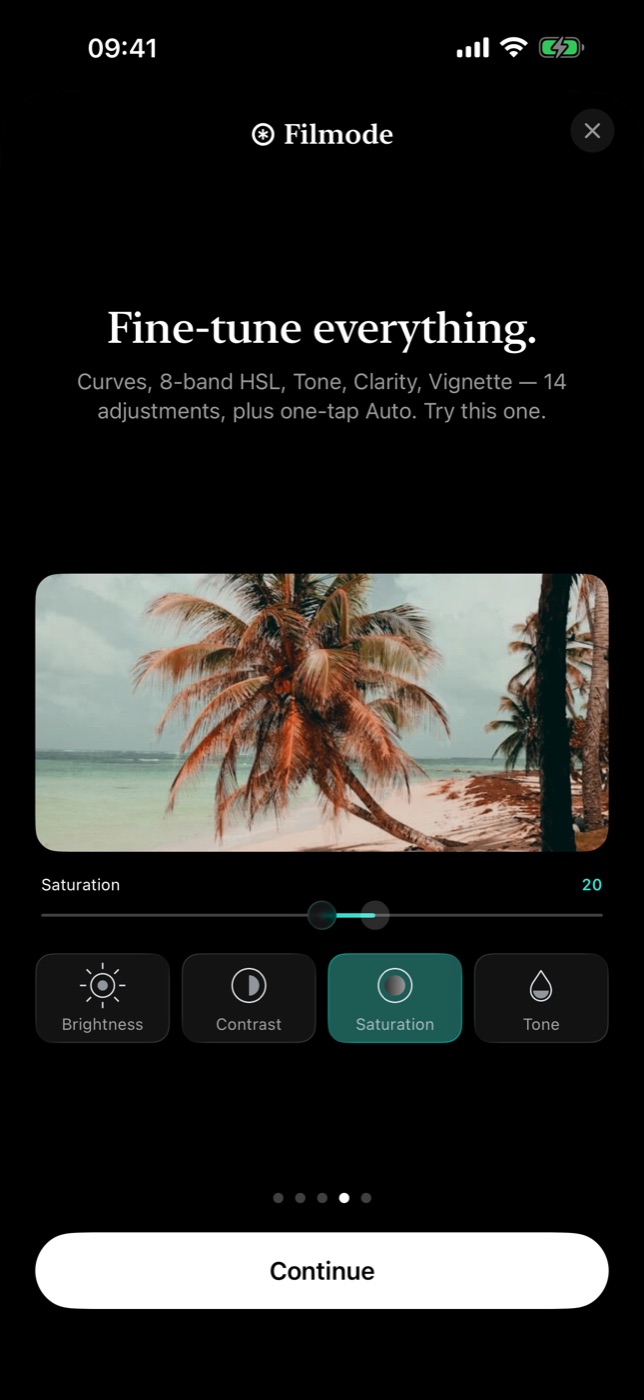
Filmode opens on a pure black canvas and a five-page walkthrough. It is not a slideshow of marketing art — every page is built out of the app's real components, so by the time you reach the end you have already used the before/after slider, the camera mock and an adjustment slider.
The five pages
The walkthrough demos the product with the product:
- Welcome — the pitch, in serif type on black.
- Grade it — a real before/after LUT slider. Drag it and you are already comparing an original against a graded frame.
- Shoot it — the live-camera mock with the film-camera presets, so you can see what a LUT looks like before the shutter.
- Adjust it — a working adjustment slider, the same control you will use in the editor.
- Keep it — the projects grid, which is where every edit you make ends up.
You can skip the whole thing, and it only appears on first launch. If you want it back, it is a tap away in Settings.
Home is the hub
Home has exactly three jobs, and it puts all three on one screen:
- Pick a photo from your library and go straight to the editor.
- Shoot with LUTs to open the live LUT camera with the look already applied.
- Continue the most recent session, right where you left it.
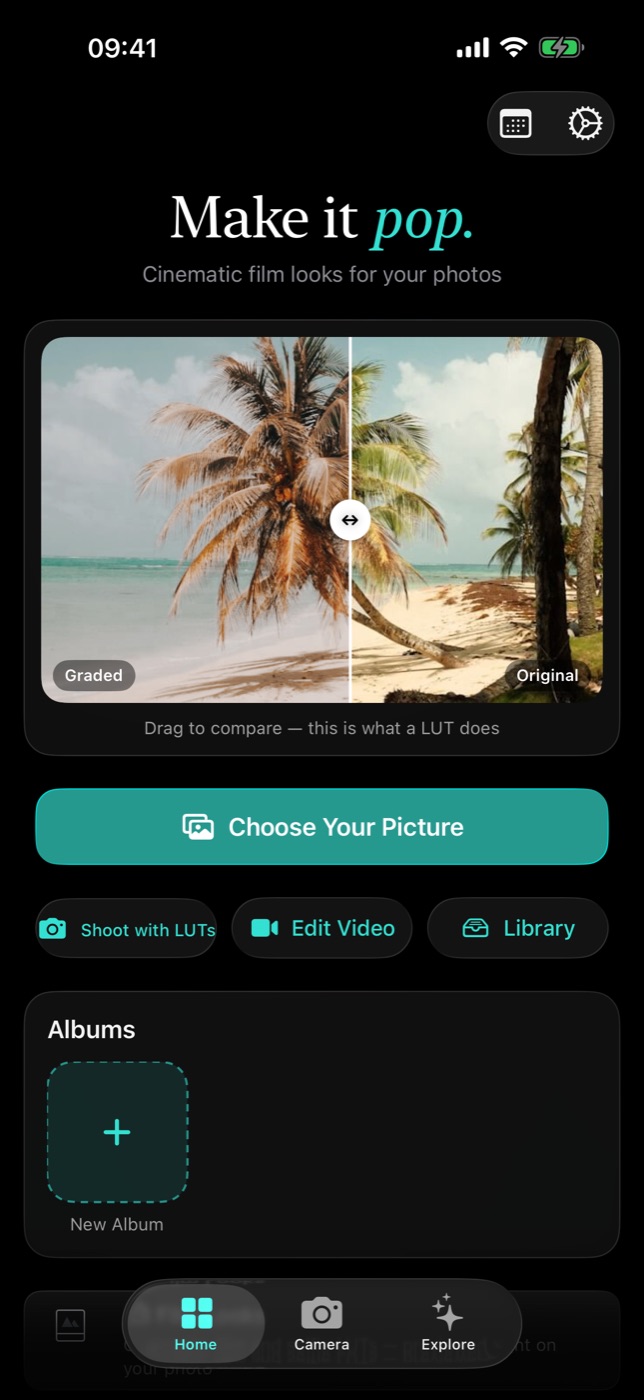
That is the whole loop. There is no project-creation dialog, no "new document" step, no naming a file before you have made anything. You bring a photo in, and Filmode does the bookkeeping behind you.
Projects save themselves
Every finished editing session is written out as a project automatically. A project is not a flattened JPEG — it stores:
- the original image, untouched
- a thumbnail for the grid
- the full 21-parameter filter snapshot
Reopen a project and every filter is restored exactly as you left it, still live and still adjustable. Rename them, delete one, or delete them all from the same grid.
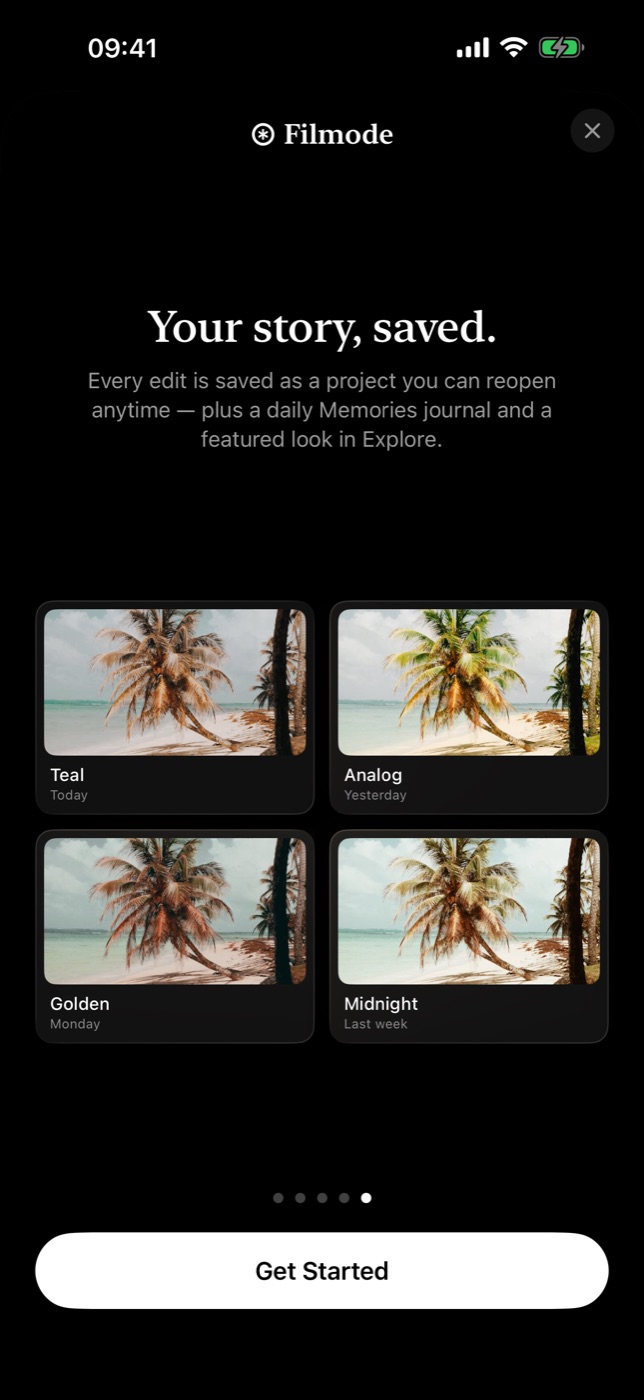
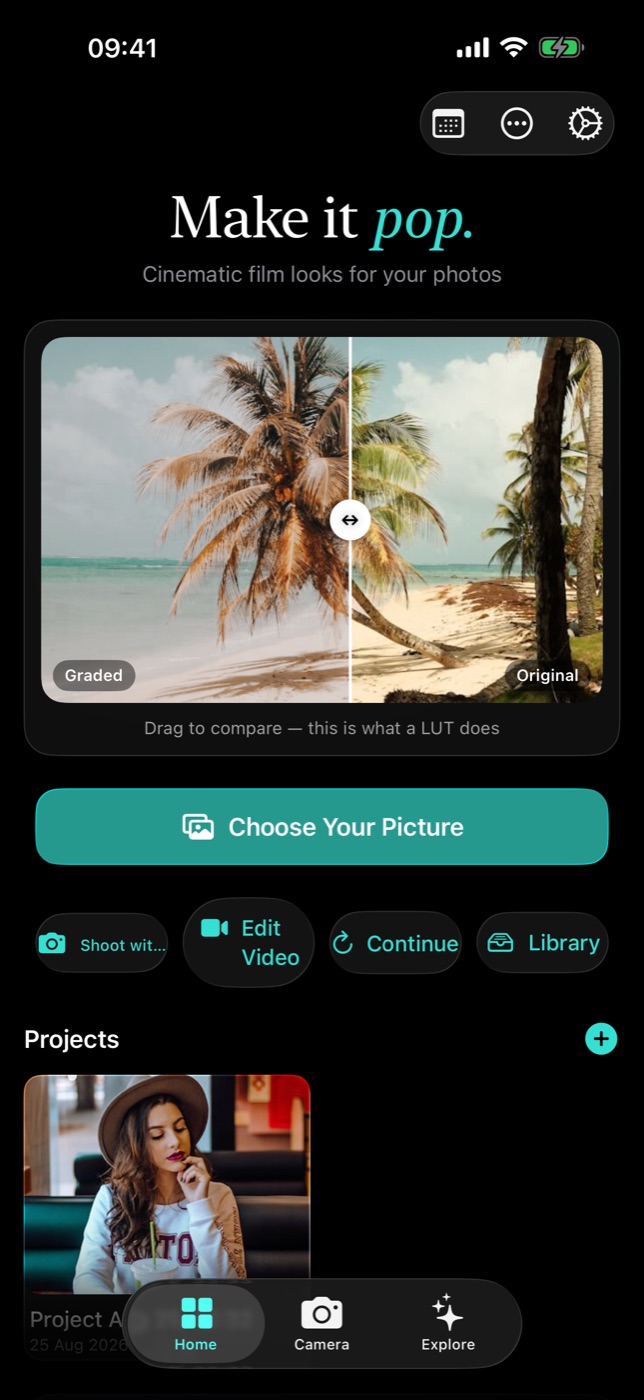
Because the original is kept and the filters are stored as parameters, "going back" is never destructive. A project from last month can be re-graded today at full resolution.
Your first minute
If you want the shortest possible path to a result:
- Open Filmode and tap Pick a photo.
- Choose a shot with some light in it — a portrait, a street, a window.
- Tap a LUT from the Basic collection. Every swatch is rendered on your photo, not a stock sample.
- Drag the intensity slider back to around 70% if it is too strong.
- Tap Export and pick High quality.
Done. The project is already saved. The next post in this series goes deeper on step 3 — the LUT collections, favorites, and recipes.
Where it runs
The same app runs on iPhone, on iPad with the two-column layout, and on the Mac as a resizable desktop window. Filmode Vibe — the toy/instant film camera with the pin-board — is a separate app on Android, and the same camera runs in a browser at filmode.app/vibe.
Everything on this page happens on your device. Photo processing is 100% on-device; no upload, no queue, no round trip.