Grading with film LUTs — collections, intensity, favorites and recipes
Filmode ships 40+ LUTs across five collections, previewed on your own photo. Here is how intensity, favorites and recipes turn a one-tap look into a repeatable one.
On this page
A LUT — a look-up table — is a map from every colour in your photo to a different colour. Film stocks have one. Cinema grades have one. Filmode's entire editor is built around applying them well.
Previewed on your photo, not a stock one
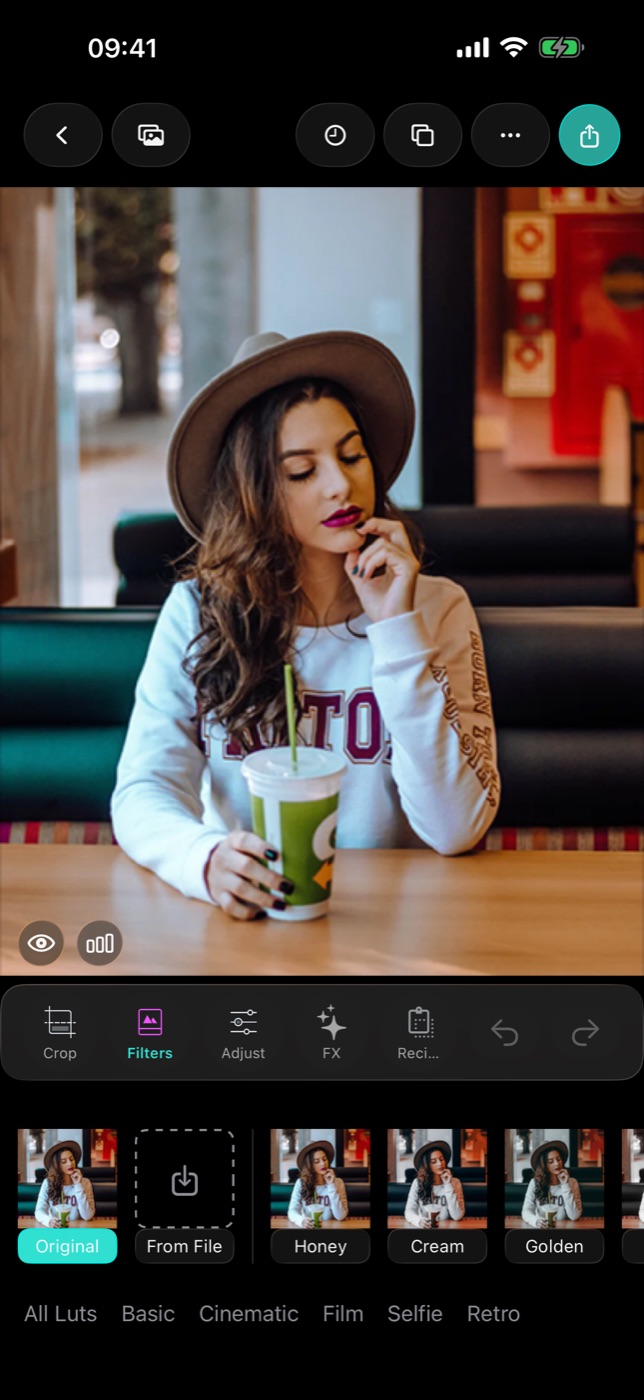
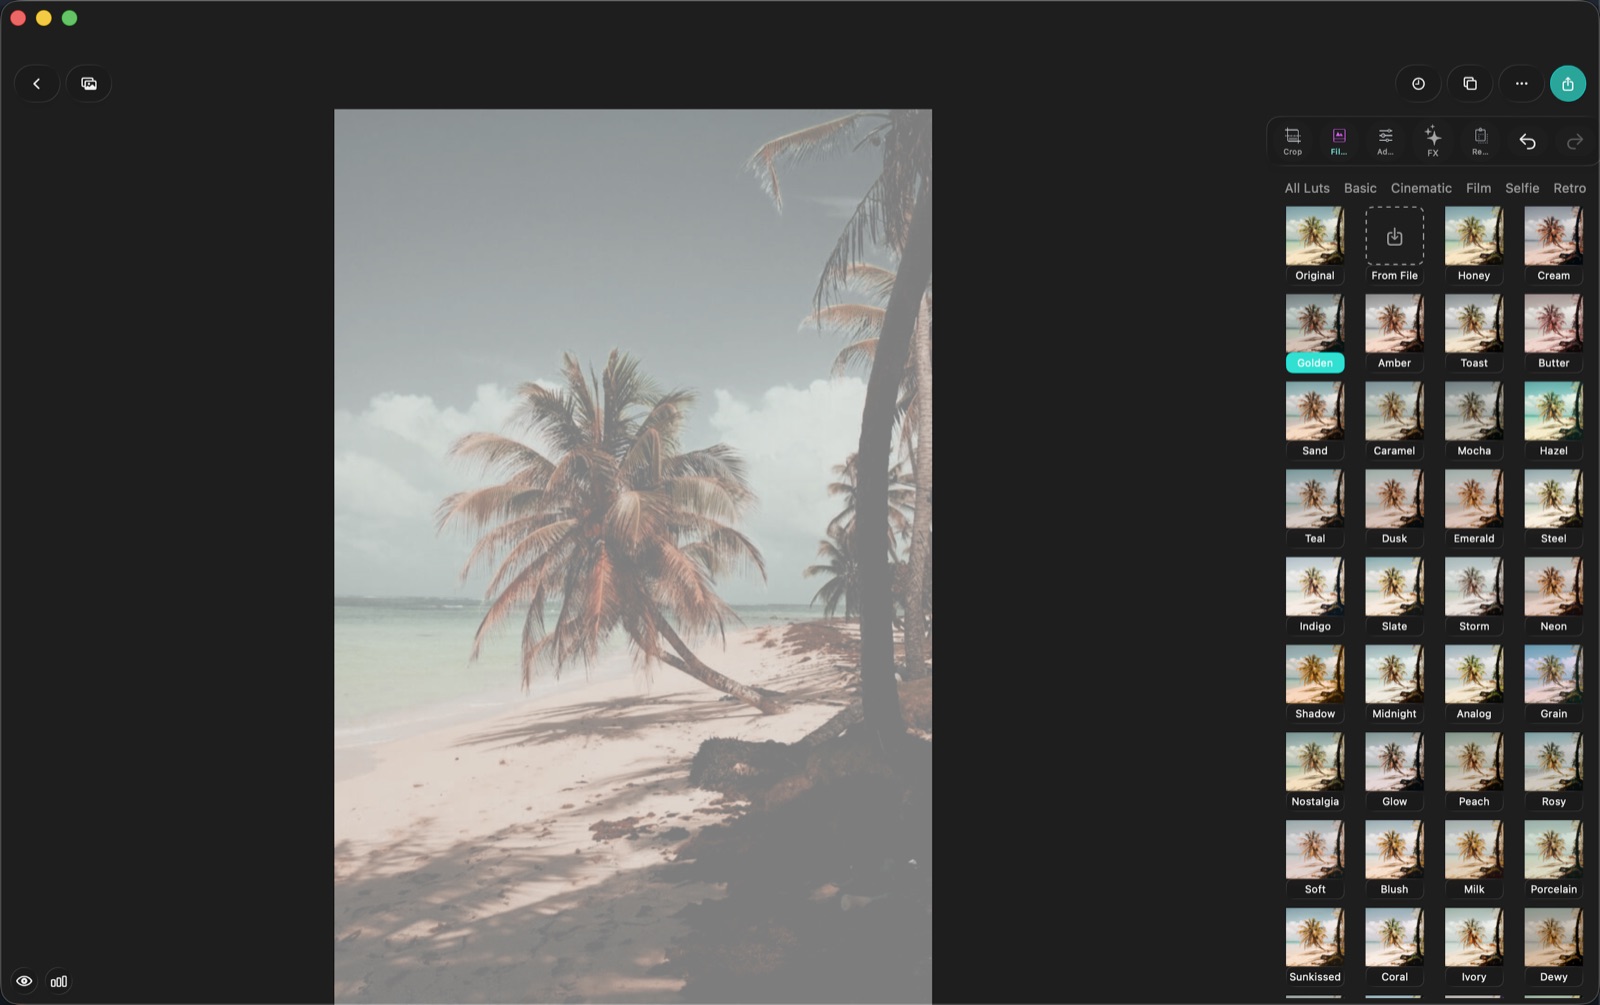
The single most useful thing about the LUT strip is that each thumbnail is your photo, graded. Not a sunset. Not a model. Yours. A LUT that flatters a bright beach can wreck an indoor portrait, and you can see which is which before you commit.
Tap a swatch and the full canvas updates. Tap again to open the intensity slider.
Five collections
| Collection | Count | What it is for |
|---|---|---|
| Basic | 10 | Everyday warmth and contrast — Natural 100, Warm Portrait, Golden Hour, Saigon Noon, Sunlit 200, Amber Vista, Slide Cool, Mocha 400 and friends |
| Cinematic | 10 | Teal-and-orange, moody contrast, the film-grade look |
| Film | 3 | Emulations closest to a photographic stock |
| Selfie | 12 | Tuned for skin — softer contrast, controlled saturation |
| Retro | 8 | Generated at runtime from the system photo-effect filters |
They are stored as 64³ colour-cube PNGs and applied as a Core Image colour-cube filter, so a LUT is a single GPU pass no matter how complicated the look is.
Intensity is the important slider
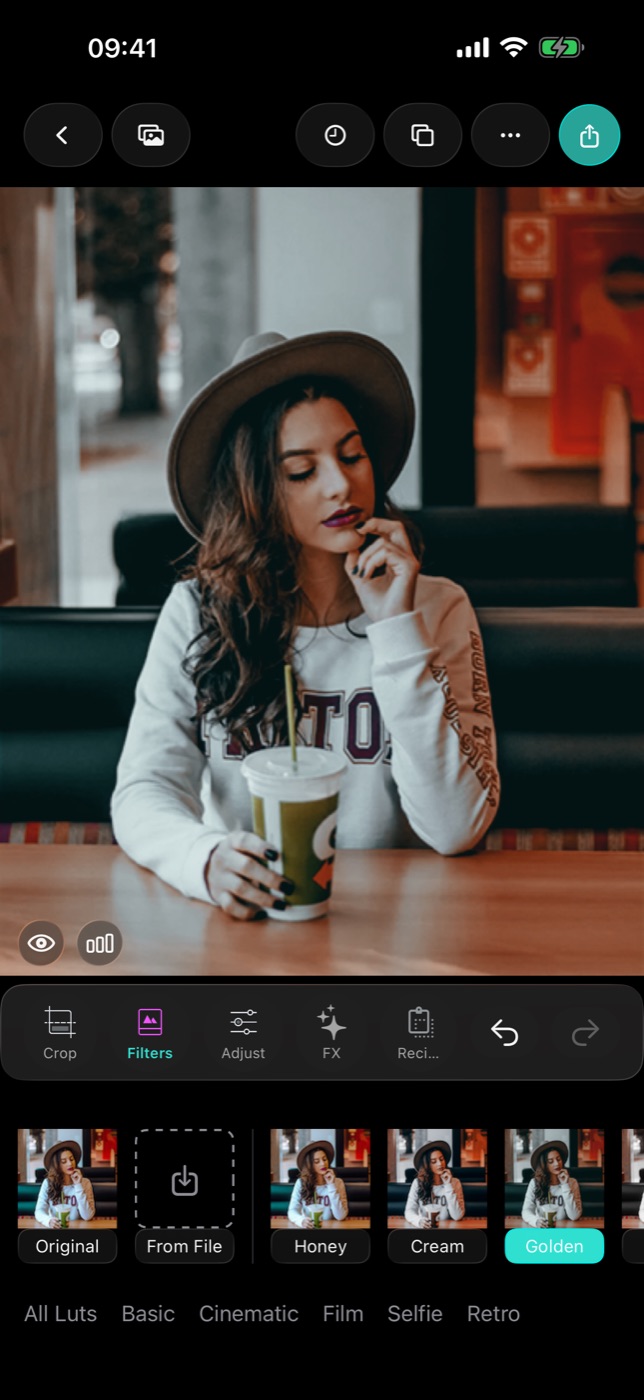
A LUT at 100% is a statement. At 60% it is a mood. Almost every look in the app improves when you pull it back:
- Portraits — 50–70%. Full strength usually pushes skin somewhere it should not go.
- Landscape and street — 80–100%. Broad colour fields can carry a strong grade.
- Mixed indoor light — 40–60%, then fix white balance manually.
The intensity slider blends the graded result back toward your original, so you are never choosing between "look" and "no look".
Favorites and recipes
Two features stop you from re-doing the same work:
Favorites are per-LUT and persist. Star the six looks you actually use and they collect at the front of the strip, so a 40-swatch library behaves like a six-swatch one.
Recipes go further: a recipe is a saved set of parameters — the LUT, its intensity, and whatever manual adjustments you layered on top. Build a look once, save it as a recipe, and apply the whole thing to the next photo in one tap. Recipes are what make a consistent feed possible without re-grading every frame by hand.
Explore: the whole library on one page
The Explore tab is the browse-first view of the same LUTs. It gives you:
- a daily look with a before/after slider
- curated templates — Cinematic Teal (moody film contrast), Warm Portrait (soft skin tones), Vintage (faded retro)
- sample filters you can import, including a
.cubecinematic LUT and an.xmpLightroom preset - a gallery rendering every LUT in a collection on the same sample photo, so you can compare looks side by side rather than one at a time
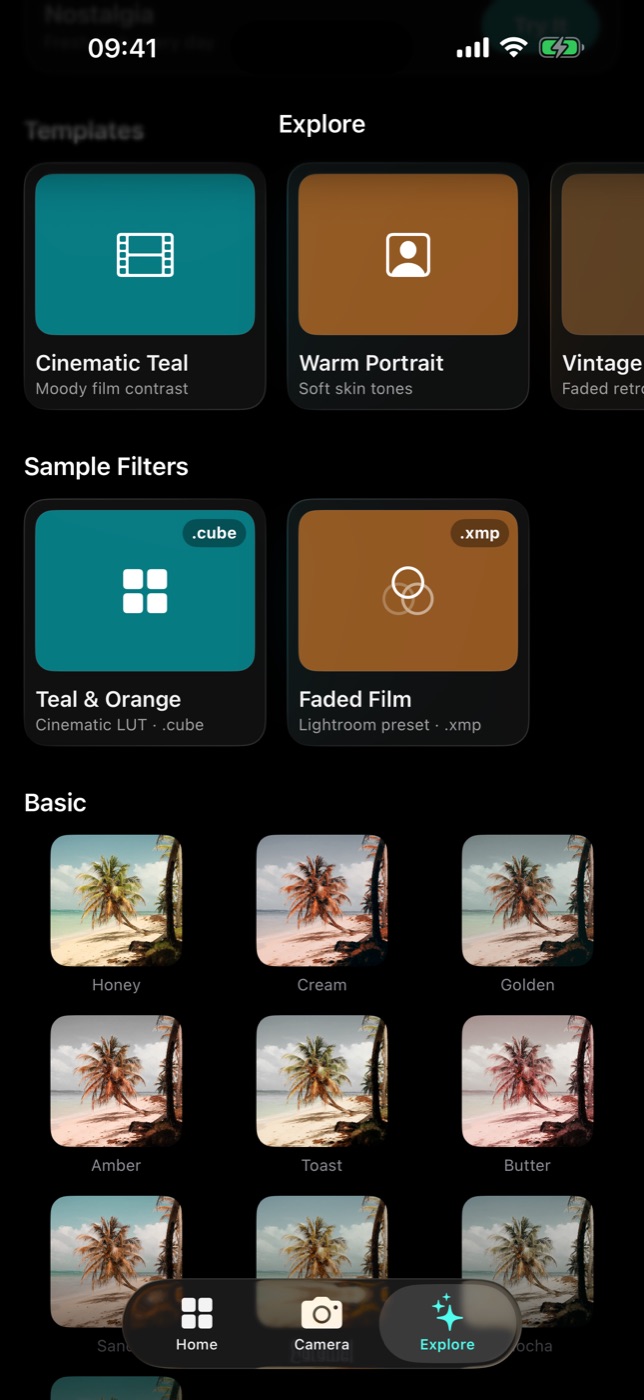
That side-by-side view is the fastest way to learn the library. The editor strip is the fastest way to use it.
Same grading on the Mac
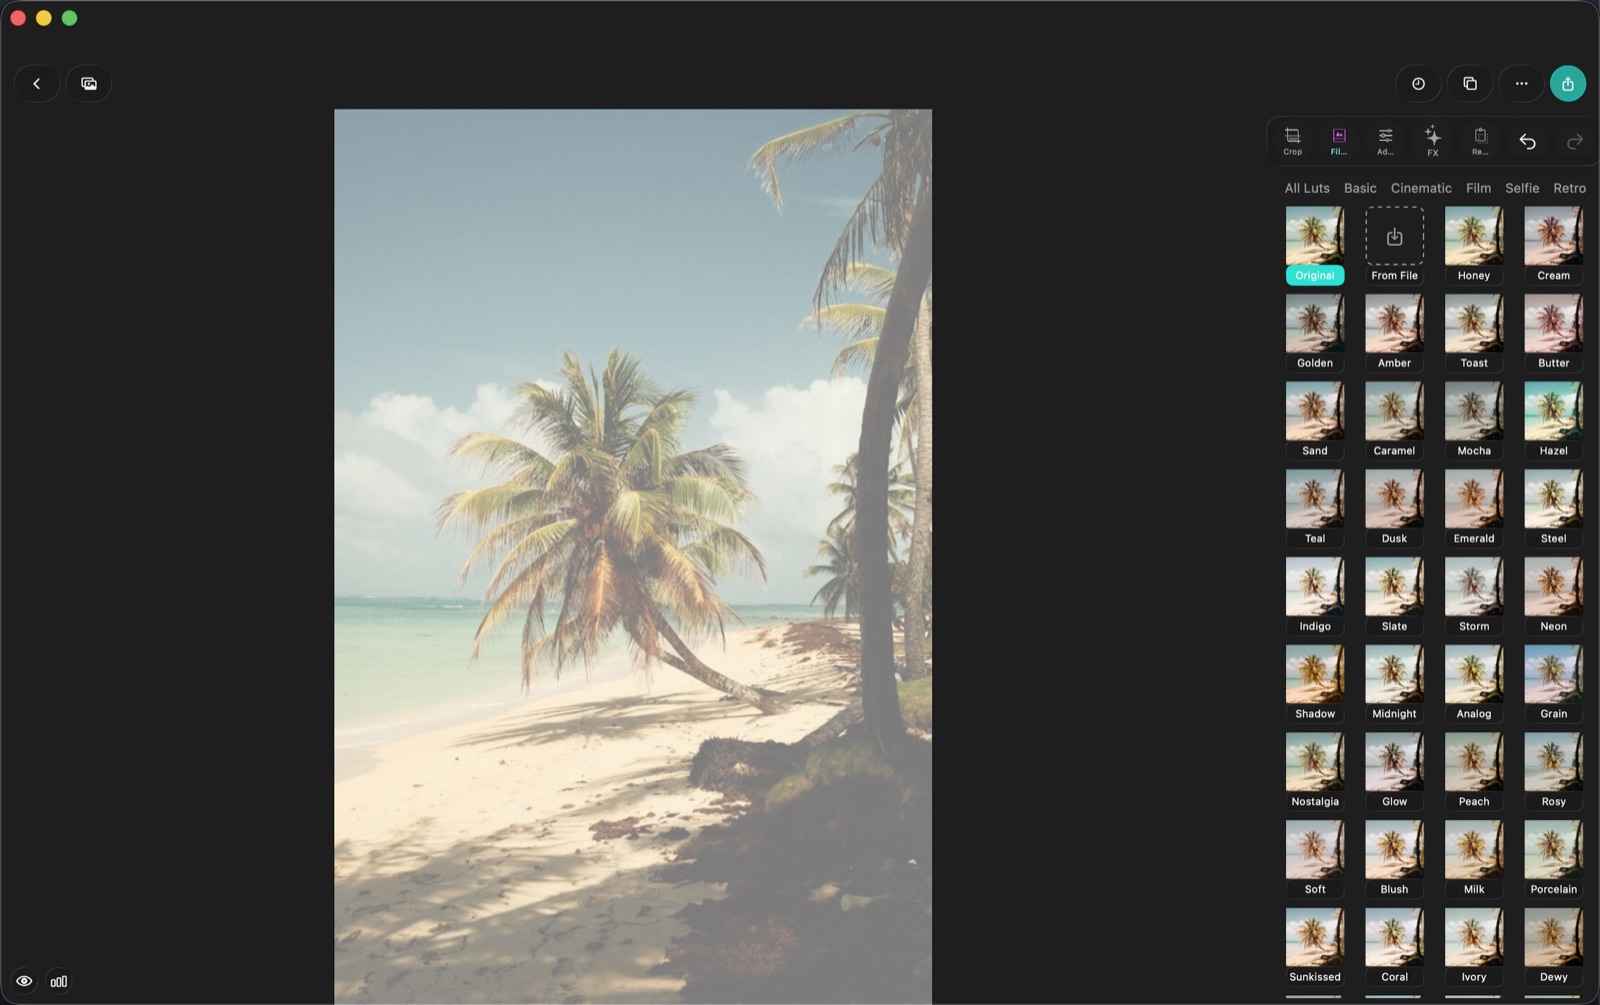
The Mac Catalyst build is the same editor in a desktop window — canvas on the left, tools docked in the 380 pt side panel. Bigger preview, same LUTs, same intensity, same recipes.
Bringing your own
If you already have a look you like, you do not have to rebuild it. Filmode imports .cube LUTs, .xmp Lightroom presets and LUT images, parses them, bakes them into colour cubes and files them under an Imported collection where they behave exactly like the bundled ones. There is a whole post on that later in the series.