Export, compare and frame — the last screen before you post
A drag-to-compare slider that shows exactly what your edit did, print-style frames with captions, full-resolution HEIC/JPEG/PNG — and no paywall on saving.
Filmode's export screen does something most editors skip: before it lets you save, it shows you the before.
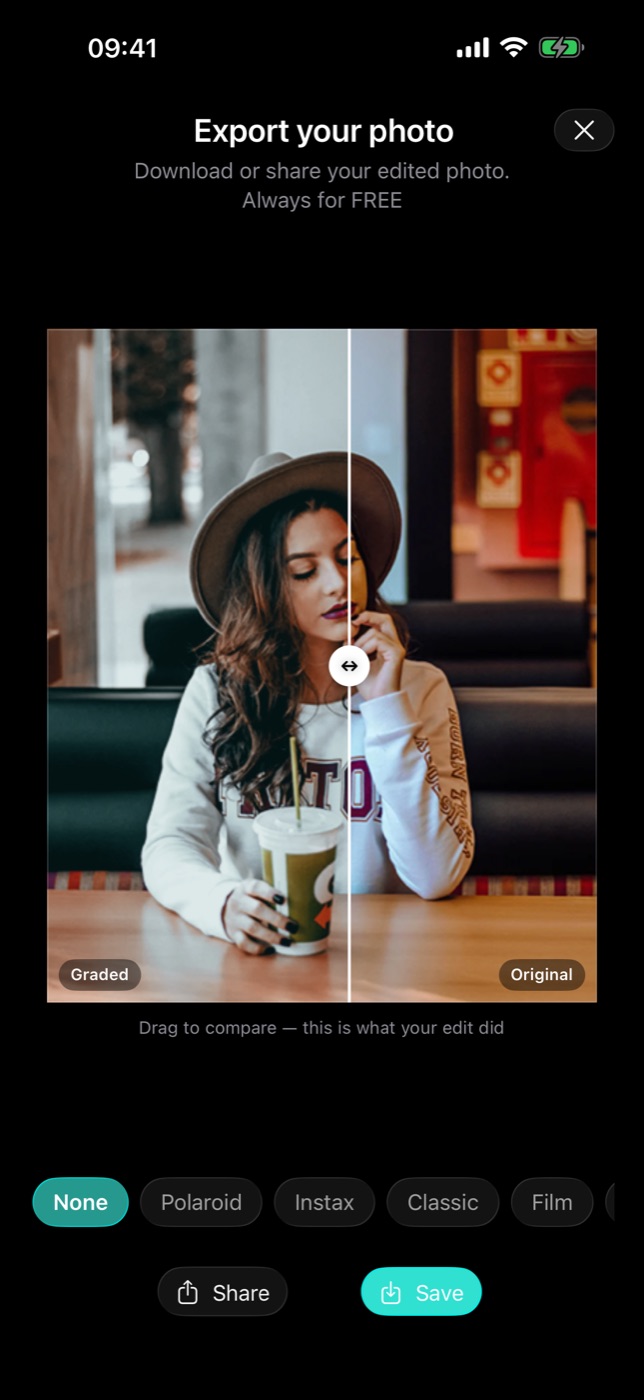
Drag to compare
The export sheet opens with your finished frame split down the middle — Graded on one side, Original on the other — and a handle you drag across. The caption under it says exactly what it is for: this is what your edit did.
It sounds cosmetic. In practice it catches two things every time:
- Overcooking. A grade you built up slider by slider looks reasonable until you see where it started.
- Undercooking. Sometimes twenty minutes of work moved the frame almost nowhere, and it is better to find that out here than three days later.
Frames
Under the comparison sits a row of frame styles: None, Polaroid, Instax, Classic, Film, and more along the strip. Pick one and your photo is composited inside a print border, and a Caption field appears so you can write on it the way you would on the white strip of an instant print.
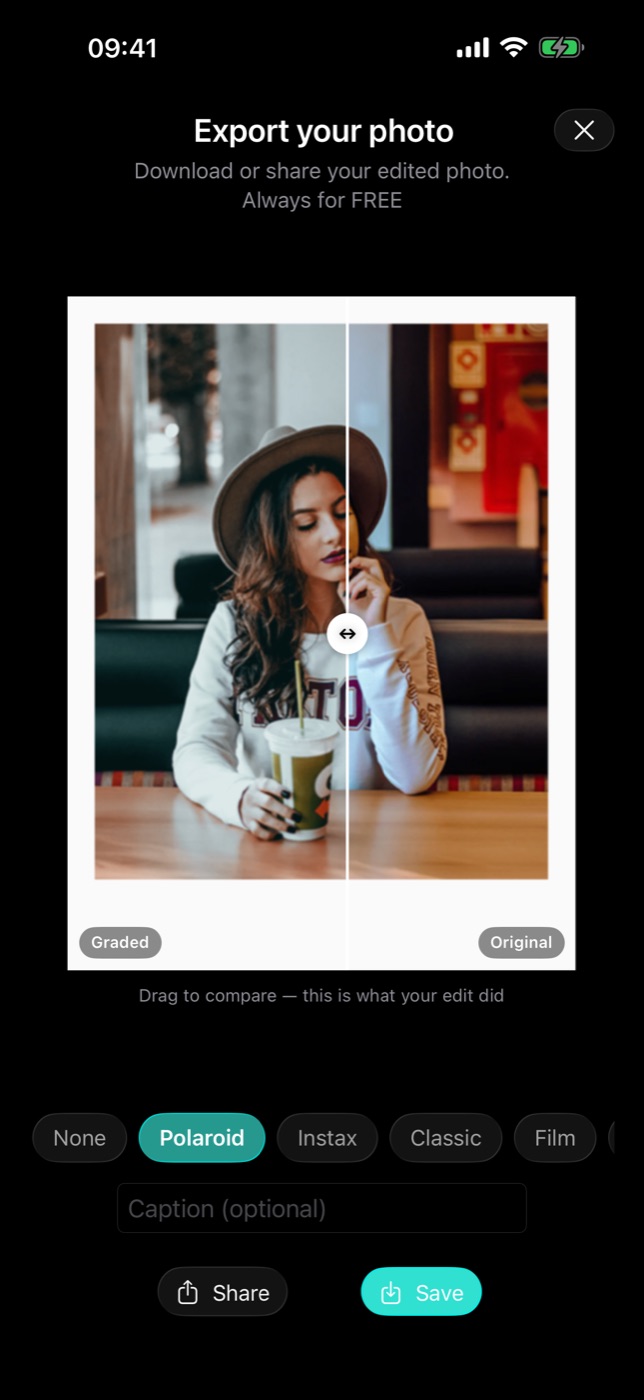
Frames are worth using for a specific reason: they force a fixed aspect and a quiet border, which is flattering to almost any photo in a busy feed. A framed shot reads as a print of something rather than another full-bleed image scrolling past.
Leave it on None when you want the full frame edge to edge.
Full resolution, three formats
Saving renders at full resolution — the preview you were dragging sliders against was downscaled for speed, but the export is not. You choose:
- Format — HEIC, JPEG or PNG
- Quality — High, Medium or Low
HEIC for the smallest file at the same visual quality on Apple devices. JPEG when the photo is going somewhere that might not read HEIC. PNG when you need it lossless.
The render reports progress and tells you clearly whether it succeeded or failed rather than silently doing nothing.
Share or Save
Two buttons, and they do different things:
- Save writes the photo to your library.
- Share hands it to the system share sheet — Messages, Instagram, AirDrop, Files, whatever you have.
What is free
Every export is full resolution with no watermark, and the 18 looks in Basic and Retro export for free, forever. The Cinematic, Film and Selfie looks are Pro: you can preview any of them on your photo, and the export screen tells you when the look you picked needs Pro. Saving or sharing with one of those starts the free trial.
One habit
Make the compare slider part of your routine, not a novelty. Drag it once, all the way across, before you press Save. If the graded side does not look decisively better than the original side, the edit is not finished — or it is finished and you should stop.