Projects and History — nothing you edit is ever lost
The editor saves your work when you leave, keeps your last five edits one tap away, and reopens any project with its settings intact.
On this page
Most photo apps have one destructive moment: you close the editor and the work is gone unless you exported it. Filmode is built the other way round — leaving the editor is a save, not a discard.
What happens when you leave the editor
Tap back and two things are written automatically, without a dialog and without a decision:
- A recent edit — a snapshot of the photo with its full settings, kept in a short list of the most recent ones.
- A project — a named, permanent entry on your Home screen with a thumbnail.
Both store the settings, not just the picture: every slider, the LUT and its intensity, and the effects stack. Reopening one puts you back in the editor with all of it live and adjustable, not flattened into a finished image.
History — the last five edits
The clock icon in the editor's top bar opens History: the five most recent edits, each with a thumbnail. Tap one and the photo comes back with its settings restored.
Five is a deliberate number. This is not an archive; it is the pile of things you were just working on. Use it for:
- Getting back a version you moved away from and now prefer.
- Comparing two takes on the same photo by flipping between them.
- Recovering an edit after you closed the app to answer a message.
When an entry falls off the end of the list, its files are archived rather than deleted outright.
Projects — the permanent shelf
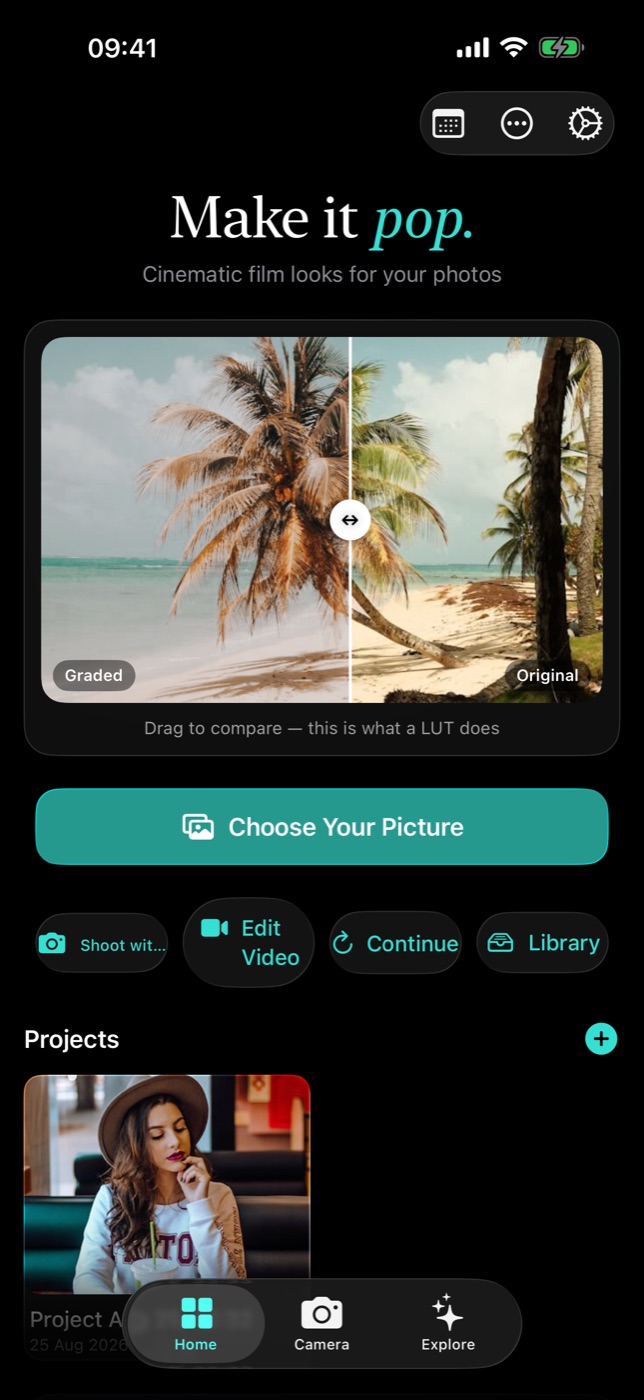
Projects are on the Home screen, and they are the ones you keep. Each has a thumbnail, an auto-generated name you can change, and a full set of restorable settings.
- Rename anything you intend to come back to. Auto-generated names are fine for a day and useless after a month.
- Delete freely — deleted projects are archived, not vaporised.
- Reopen and keep working. A project is a live edit, not an export.
The habit that makes this pay off
The reason to care about any of this is that it changes how you edit. When leaving is safe, you stop trying to finish a photo in one sitting.
Edit a frame until you like it, then leave. Come back tomorrow with a fresh eye and you will immediately see the thing you overcooked — the saturation, the clarity, the vignette. Open the project, pull it back, export then. Photographs edited across two days are almost always better than photographs edited across twenty minutes, and the only reason people don't do it is that most apps punish you for stopping.
Practical notes
- A project is not an export. Nothing reaches your camera roll until you use the export button. Projects live inside the app.
- Finish the frame in one visit. Crop, retouch and grade belong to the same sitting; treat a reopened project as a place to refine a look rather than to start a new one.
- Prune. Every project holds a full-size image and a thumbnail. A tidy list is faster to scroll and lighter on storage.
The complete loop
- Open a photo, crop it, grade it.
- Leave. It saves itself.
- Look again tomorrow.
- Reopen the project, adjust what now looks wrong.
- Save the look as a Recipe if you want it again.
- Export.
Nothing in that loop involves remembering to save, and nothing in it is a one-way door.