Bring your own looks — importing .cube LUTs, LUT images and .xmp presets
Three preset formats, where to find them, what happens to each one on import, and why an Adobe preset can arrive as a recipe rather than a filter.
On this page
The built-in collections cover a lot: Basic, Cinematic, Film, Selfie and Retro, forty-odd looks between them. But the looks you have bought, downloaded or built somewhere else are yours, and Filmode takes all three of the formats they usually come in.
The three formats
.cube — a 3D LUT. The standard of the film and video world. A plain text file describing how every colour in the frame maps to a new one. Bought LUT packs, free packs from colourists, and exports from Resolve or Premiere all arrive as .cube. Filmode reads them directly and tells you the grid size it found — 33³ and 64³ are the usual ones.
A LUT image — .png or .jpg. The same idea stored as a picture: a grid of colour squares, sometimes called a HALD image. Common in mobile apps and in packs sold for other editors. Filmode works out the grid dimension from the image size and re-bakes it internally so it behaves exactly like a .cube.
.xmp — an Adobe Camera Raw preset. What Lightroom presets are made of. This one is different in kind: it is not a colour table, it is a list of slider values. So Filmode reads the values and turns the preset into a Recipe rather than a filter — and when the preset also carries tone curves, it bakes an accompanying LUT so the curve part comes across too.
Because an .xmp may reference parameters Filmode's pipeline doesn't have, anything that could not be reproduced is listed for you in Settings. Nothing is silently dropped — you can see exactly what did and didn't make the trip.
Importing
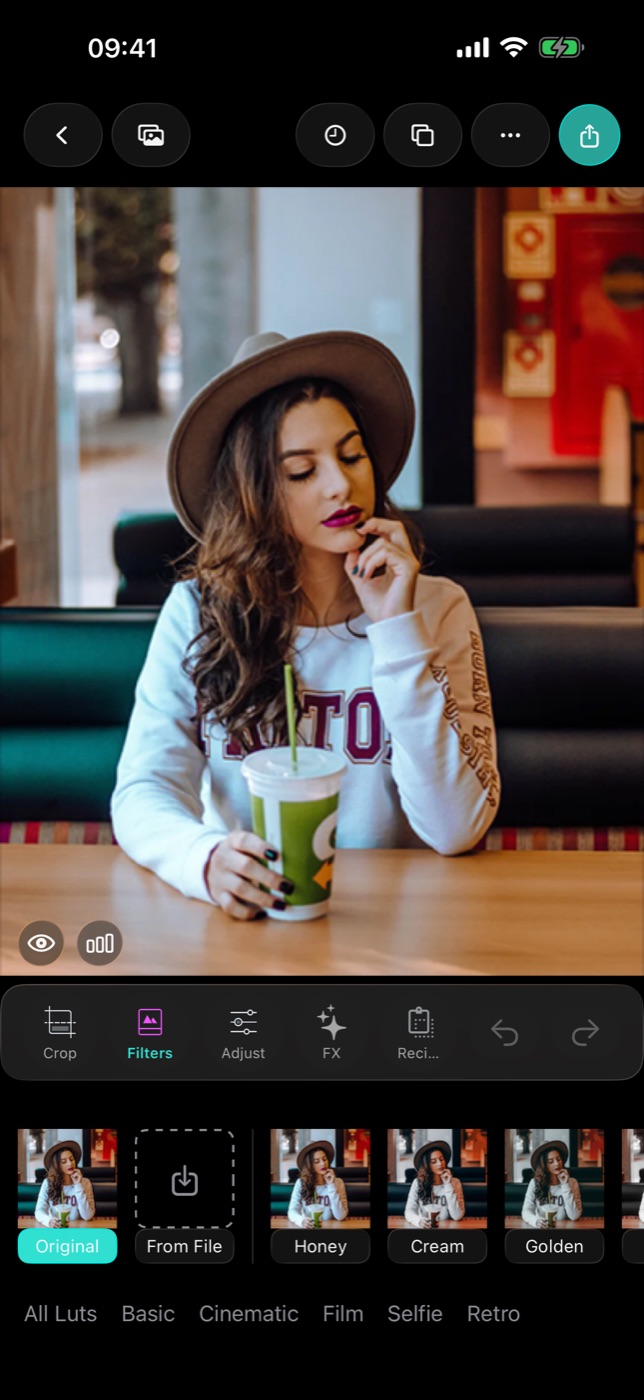
Open the Filters tab and use the import tile at the end of the strip. Pick your file from Files, iCloud Drive, Dropbox, or anywhere else the system picker can reach — on Mac and iPad you can drag it in from Finder.
Imported LUTs then appear as their own Imported collection, sitting alongside the built-in ones and behaving identically: tap to apply, tap again for the intensity slider, long-press to favourite. Imported files are stored inside the app, so they keep working with no network and no source folder.
Where to find LUTs worth importing
- Film emulation packs. Portra, Ektar, Cinestill and the rest have all been profiled, free and paid. The good ones are subtle.
- Colourist packs. People who grade films for a living sell their looks. Usually the best money you can spend on this.
- Camera manufacturer LUTs. If you shoot log video on a mirrorless camera, the maker publishes conversion LUTs — and they work on stills too.
- Your own. Export a look you built in Filmode as
.cube, or export one from any desktop editor, and import it back.
A warning about intensity
A .cube from a colourist was almost certainly designed for footage from a specific camera in a specific colour space. Applied at 100% to a phone photo, it can look violent — crushed blacks, neon skin, a colour cast in the shadows.
This is not the LUT being bad. It is the LUT being applied at full strength to an image it was never made for. Tap the thumbnail a second time to open the intensity slider and bring it down to 40–60%. Most imported LUTs are excellent at half strength and unusable at full.
Managing what you've imported
Imports live in the app's own storage with a manifest, so they survive restarts and updates. Delete the ones you don't use — a strip of two hundred looks you scroll past is worse than a strip of fifteen you know.
And if a look started life as a .cube but you now use it with a specific set of slider adjustments alongside it, save that whole combination as a Recipe. The LUT is the ingredient; the recipe is the dish.