The 25 film effects, and when each one is the right answer
Grain, halation, light leaks, VHS, prism, duotone, relight — every FX tile in the photo editor, what it actually does to a frame, and the strength that keeps it believable.
On this page
A LUT changes the colour of a photo. An effect changes the material of it — the grain in the emulsion, the light bleeding around a highlight, the dust on the scanner glass. The FX tab is where Filmode keeps 25 of them, and this post goes through the lot.
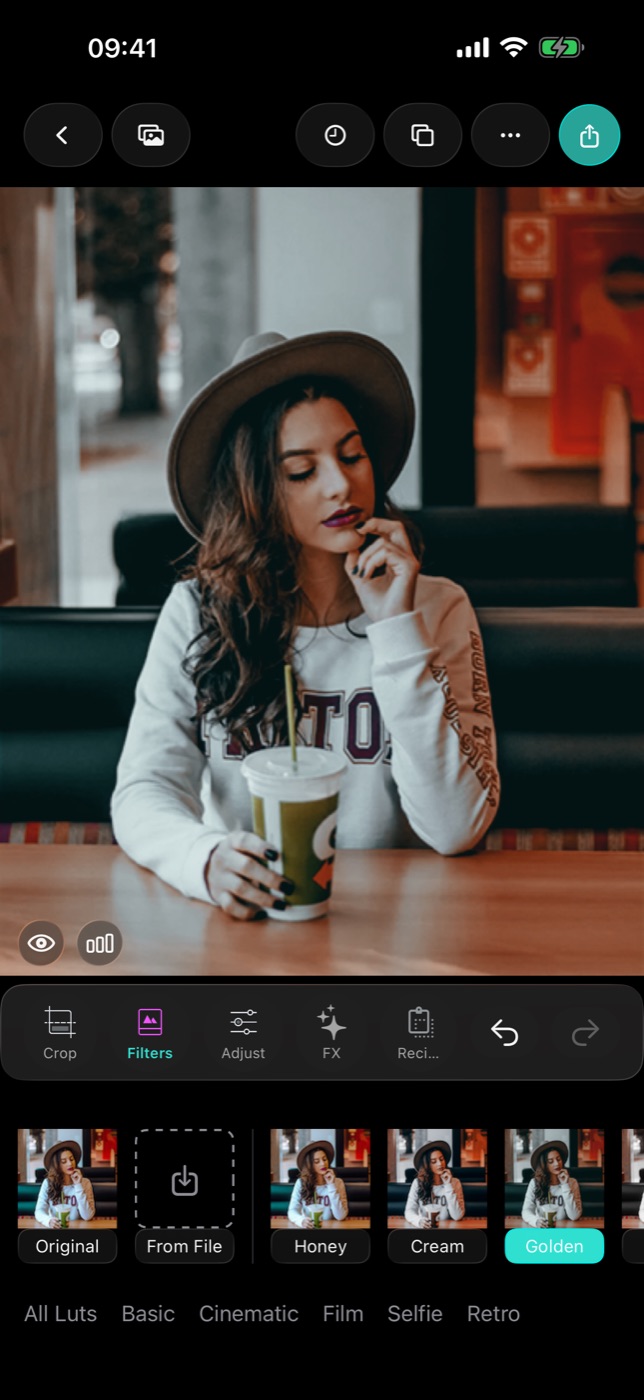
How the FX stack works
Three things are worth knowing before you tap anything:
- Effects run after your colour work. The LUT and the sliders happen first; the effects land on top of the graded frame. That is why grain added to a heavily faded photo looks different from grain added to a contrasty one — it is reacting to the image you made, not the original.
- One instance per effect, in a stack. You cannot stack two grains, but you can stack grain and halation and a light leak, and they are applied back to front in the order the stack holds them.
- Every effect has a strength. A single 0–100% master control. Most of the film effects want to sit between 15% and 40%; the graphic ones are all-or-nothing by nature.
Several effects also have variants — different physical looks for the same idea. Light Leak has four, Relight and Duotone have four each, Glitch and Pixel three, VHS, Kaleido, Twirl and Green Screen two apiece. Procedural effects (dust, glitch bands, leaks) are placed from a seed, so the same photo re-opened with the same settings looks the same as it did yesterday.
Film and light
These are the ones you will use most, and the ones that survive being seen twice.
| Effect | What it does |
|---|---|
| Grain | Emulsion noise across the frame. The single most effective way to stop a digital photo looking digital |
| Halation | The warm red-orange bleed film gets around hot highlights — window frames, hair lights, headlights |
| Bloom | A soft glow spilling out of the bright areas. Dreamier than halation and less colour-specific |
| Light Leak | Light spilling in from the edge of the frame, as if the back of the camera opened. Four shapes |
| Dust | Dust specks and hairline scratches, like a negative that has been through a scanner |
A useful combination for a shot on film look: Grain at ~25%, Halation at ~30%, Dust at ~15%. Anything higher and it stops reading as film and starts reading as a filter.
Analog hardware
| Effect | What it does |
|---|---|
| VHS | Tape artefacts — colour bleed and tracking lines. Two flavours |
| Glitch | Displaced bands of the image, three intensities of broken |
| CRT | Scanlines and the curvature of a tube monitor |
| Chroma | Chromatic aberration: the colour channels drift apart, hardest at the edges |
Chroma is the subtle one of the group. At 10–15% it reads as an old lens rather than an effect, and it pairs well with Fisheye.
Lens and optics
| Effect | What it does |
|---|---|
| Fisheye | Barrel distortion, wide and curved |
| Prism | Refracted repeats of the frame, the handheld-crystal look |
| Starburst | Points of light spike into stars, like a cross filter on a lens |
| Portrait | Depth-style background blur so the subject separates. iOS 15 and up |
| 2X Expo | Double exposure — the frame blended into itself, offset |
Starburst needs actual small bright points to work on: night streetlights, sun through leaves, candles. On a flat daylight photo it has nothing to grab.
Graphic and stylised
| Effect | What it does |
|---|---|
| Pixel | Blocks the image down. Three block sizes |
| Comic | Posterised flat colour with a print feel |
| Duotone | The whole photo mapped into two colours. Four palettes |
| Thermal | Heat-map colour ramp |
| Kaleido | Mirrored kaleidoscope, two segment counts |
| Twirl | The centre of the frame wound around itself |
These are poster tools, not photo tools. Used at 100% on the right frame — a silhouette, a strong shape, a face in profile — they make something graphic. Used at 30% they mostly look like a mistake.
Pseudo-3D and utility
| Effect | What it does |
|---|---|
| 3D Glasses | Red/cyan anaglyph offset |
| 3D Tilt | A fake perspective tilt, three angles |
| Planet | The frame wrapped into a tiny planet |
| Green Screen | Keys out a colour range, two modes |
| Relight | Adds a directional light onto the scene. Four directions |
Relight is the sleeper of the list. It is the one effect here that does retouching work rather than decoration: a face lit flat by an overcast sky gets a direction back, and the photo stops looking like a snapshot.
A method that works
- Grade first — LUT, then exposure and white balance. Effects on an ungraded photo lie to you about how strong they are.
- Add one effect. Push it too far on purpose so you can see what it does.
- Pull it back to roughly half of where it looked good. It will still be too strong.
- Only then consider a second effect.
- Press and hold on the canvas to compare with the original before you export. If you can't tell the difference at a glance, the effect is doing nothing and should come off.
The effects you are happiest with in a month are almost always the ones you set at 20%.