How to edit a photo in Filmode — the complete walkthrough
Open a photo, grade it, adjust it, add film effects, crop, compare, and export it framed. Every button in the photo editor, in the order you actually use them.
On this page
This is the long version: the photo editor from the moment a picture lands on the canvas to the moment it is in your camera roll. If you only have a minute, the short version is pick a photo → tap a LUT → tap Export. Everything below is what happens if you take the other five minutes.
1. Getting a photo in
Four ways in, all landing on the same screen:
- Choose Your Picture on Home — the system photo picker.
- The library button in the editor's top bar — swap the photo without leaving the editor.
- Drag and drop — on Mac and iPad, drag a file from Finder, Files or Photos straight onto the canvas.
- The media shelf — everything you have imported, in one grid.
A photo that is already open stays open until the new one is fully loaded. If a picture can't be decoded, the editor keeps the one you had rather than dumping you onto a black canvas.
2. The top bar
Six icon-only buttons, in a row, left to right:
| Button | What it does |
|---|---|
| ‹ | Back. Your session is auto-saved on the way out |
| Photo | Swap in a different picture |
| Clock | History — every recent edit, reopenable with its settings |
| Squares | Batch edit — apply this look to a whole set |
| ⋯ | Remove Spots, Body Retouch, Paste Last Edits, Export Preset, Revert |
| ↑ | Export — the accent-coloured one |
The ⋯ menu is where the less obvious tools live. Paste Last Edits takes the look from your most recent project and drops it onto this photo — the fastest way to make two shots match. Export Preset writes your current edit out as a .cube LUT or an .xmp file that Lightroom can read.
3. The canvas
The photo itself is a working surface, not a preview:
- Pinch to zoom to 5×, with a zoom readout and panning that stops at the edges.
- Double-tap to switch between fit and fill — or, when zoomed, to snap back to 1×.
- Press and hold anywhere on the photo to see the original underneath. Let go and your edit returns. This is the single most useful gesture in the app.
- The histogram toggle puts a live RGB histogram in the corner so you can see clipping while you cause it.
4. Filters — the LUT strip
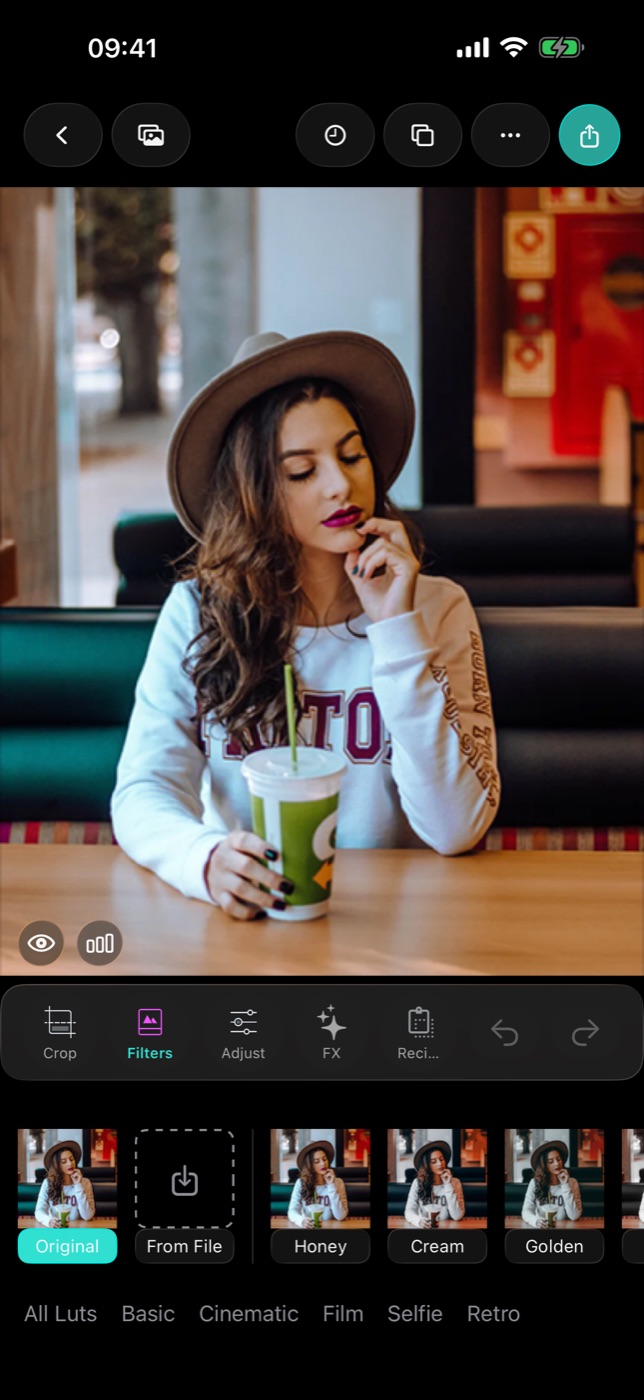
The default tab. Each thumbnail is your photo, not a stock image, rendered through that LUT — so you are choosing from what the look actually does to this frame.
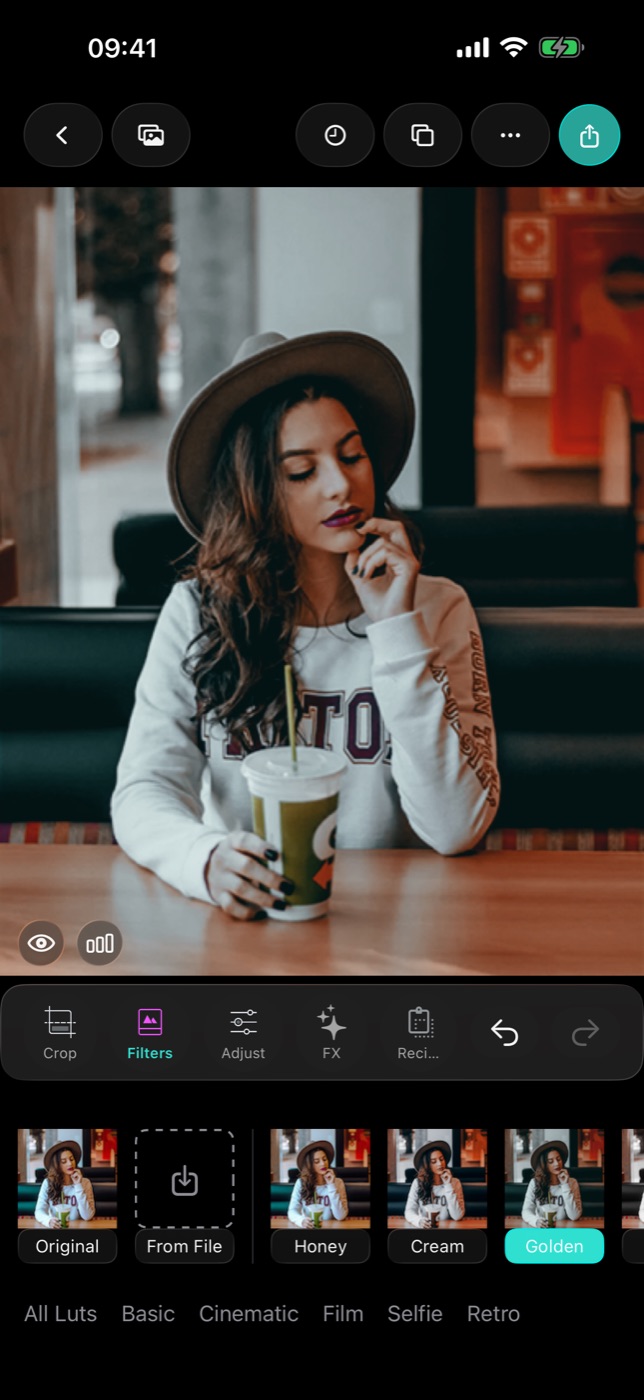
Tap one to apply. Tap the same one again to open its intensity slider: a LUT at 40% is a different, usually better, tool than the same LUT at 100%. Long-press any thumbnail to favourite it, and your favourites get their own row at the head of the strip. Collections keep the rest short, and imported .cube files sit alongside the built-in ones.
5. Adjust — the manual tools
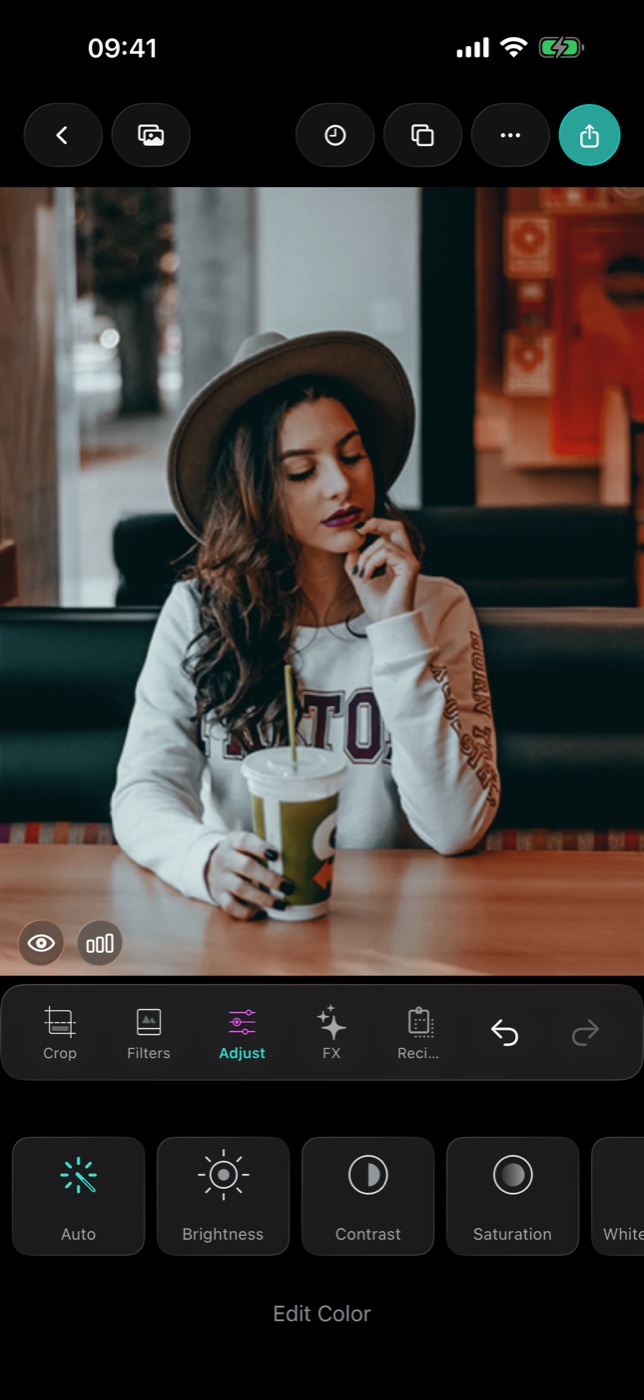
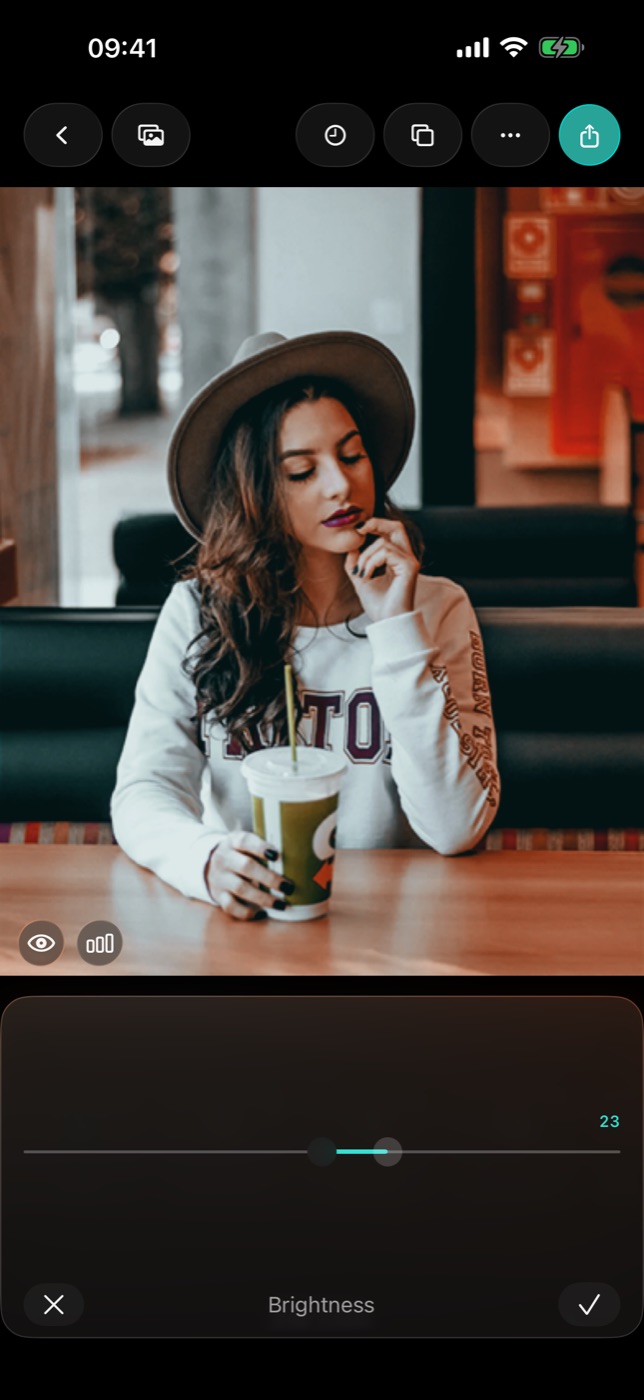
The second tab is the grid of sliders: exposure, contrast, saturation, temperature, white balance, tone, colour, HSL, curves, clarity, sharpen, fade, blur, vignette.
Tap a tool, drag its slider, then confirm with ✓ or discard with ✕. Nothing is committed until you confirm, so you can always back out of an experiment.
Two shortcuts worth knowing: Auto reads the photo's average luminance and sets exposure, contrast and saturation for you — a sane starting point on a flat frame. And the white-balance eyedropper lets you tap something that should be neutral grey; the app works out the colour temperature from that pixel and corrects the whole frame to match.
6. FX — the film effects
The third tab is the analogue layer — around twenty-five effects, each with its own intensity: film grain, halation, bloom, light leaks, dust and scratches, VHS, glitch, chromatic aberration, fisheye, prism, starburst, double exposure, portrait blur, pixelate, poster, duotone, thermal, kaleidoscope, twirl, CRT, anaglyph 3D. They sit on top of the colour work rather than inside it, so you can change the LUT without losing them.
A little goes a long way. Grain at 15% reads as film; grain at 80% reads as a broken sensor.
7. Recipes
Once a photo looks right, save the whole stack — LUT, intensity, every slider — as a recipe. The recipes tab shows them as thumbnails of your current photo, so you are picking a look you can see, and one tap applies the lot.
This is what turns a twenty-minute edit into a reusable style, and it is the mechanism behind a consistent-looking feed.
8. Crop and rotate
Crop lives in its own screen, opened from the leftmost tool tab. Aspect ratio presets, free crop, straightening and rotation. Do it early: composition changes what the right exposure is.
9. Undo, redo and history
Undo and redo sit at the right end of the tool row and are unlimited within a session. On the Mac they are ⌘Z and ⇧⌘Z.
Revert to Original in the ⋯ menu clears every filter and adjustment at once, after a confirmation. And the clock button opens a list of recent sessions — each one reopens with its settings intact, so a photo you edited last week is still editable, not just viewable.
10. Export
The export screen is a screen, not a save button:
- Format — HEIC, JPEG or PNG.
- Quality — high, medium or low.
- Frames — none, Polaroid, Instax, Classic, Film or Retro, with an optional caption. The Film frame prints your caption in film-marking orange next to the sprockets; Retro burns a disposable-camera date stamp into the corner.
- A compare slider — drag it to check the graded version against the original, both wearing the same frame.
- Save to the camera roll, or Share straight into another app.
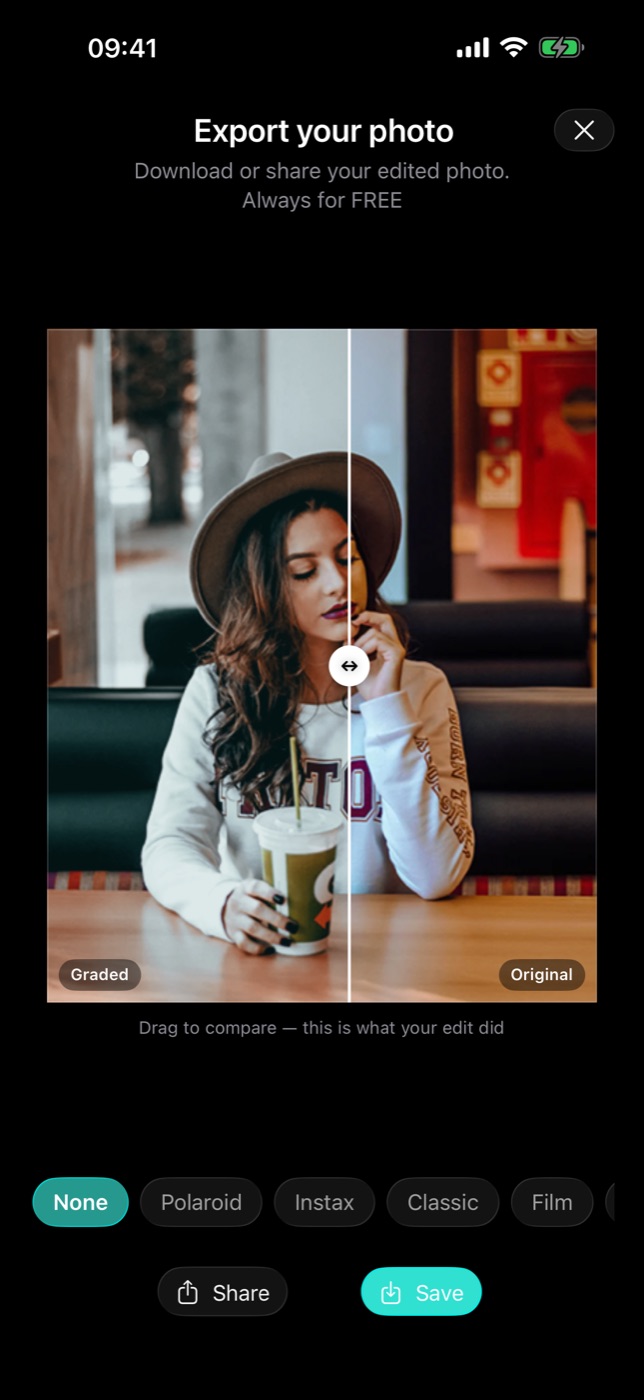
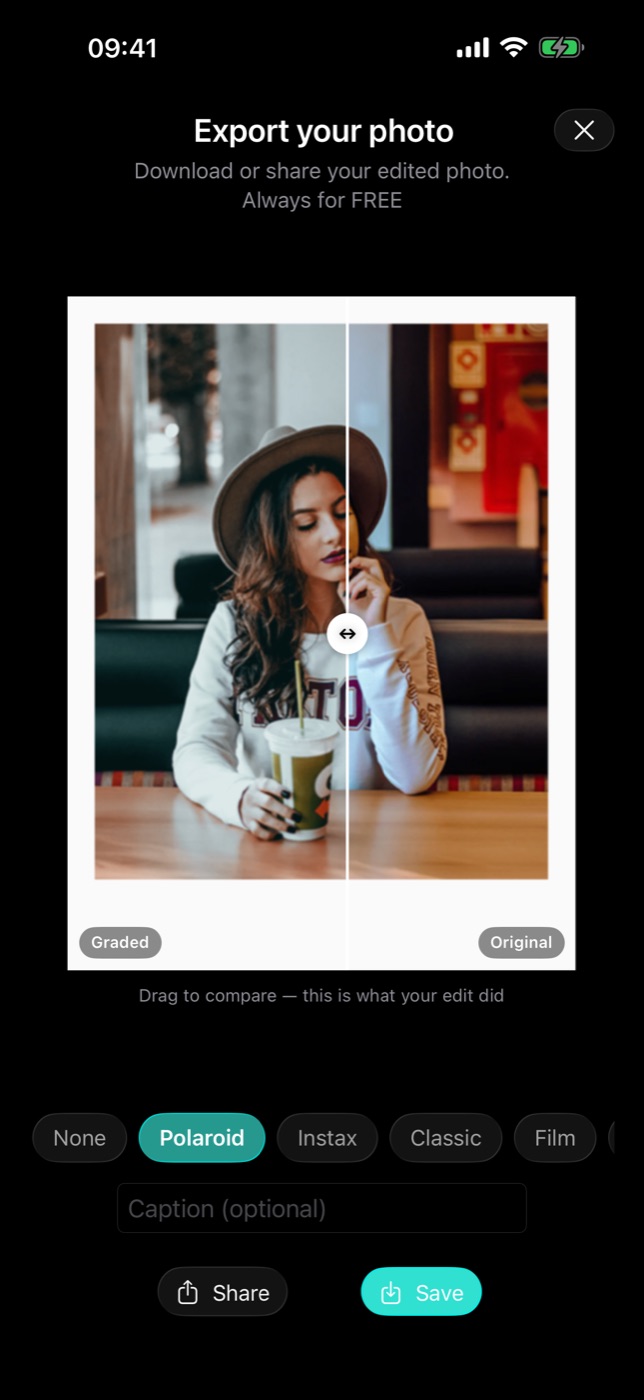
The full-resolution render happens here, once. Everything before this point was a screen-sized preview, which is why the sliders stayed instant on a 48-megapixel file.
11. Nothing is lost when you leave
Close the editor with edits on the photo and Filmode saves the session by itself — into recent edits, and as a project on Home. No "do you want to save?" dialog, no lost work.
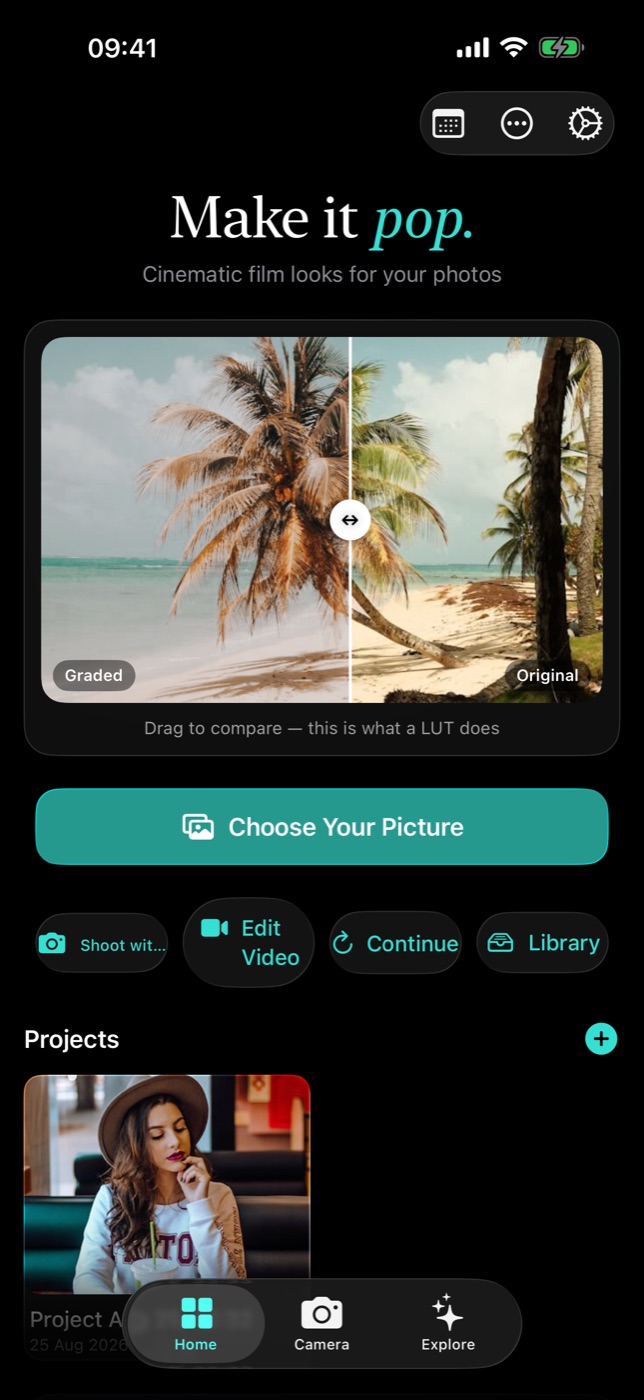
On iPad and Mac
Same editor, different furniture. On a regular-width screen the canvas goes full-bleed on the left and the controls dock into a 380 pt side panel on the right, so the sliders never sit on top of the photo you are judging. Keyboard shortcuts work, and drag-and-drop from Finder is the fastest way to open anything.
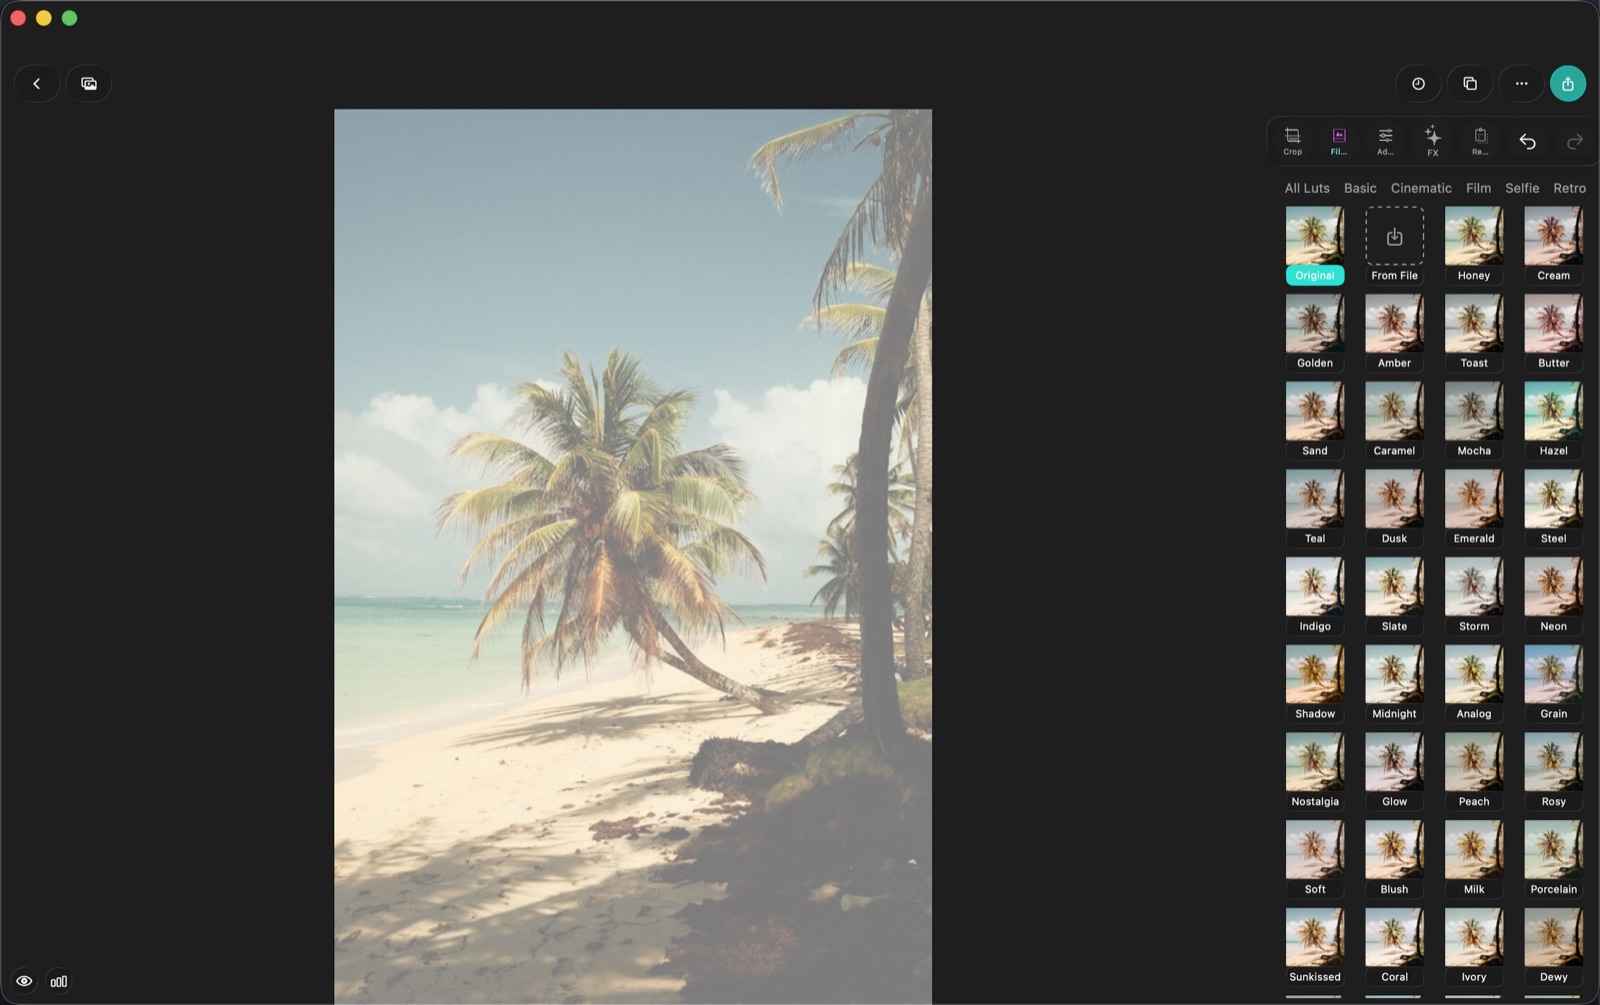
A running order that works
- Crop — fix the frame first.
- Exposure, then white balance — get it neutral and correctly lit.
- LUT, at a sensible intensity.
- Tone — recover highlights, open shadows.
- HSL or curves — only if a specific colour is still wrong.
- FX, fade, vignette — taste, last.
- Save as a recipe, so steps 3–6 become one tap next time.
- Export at high quality, framed if you are posting it.